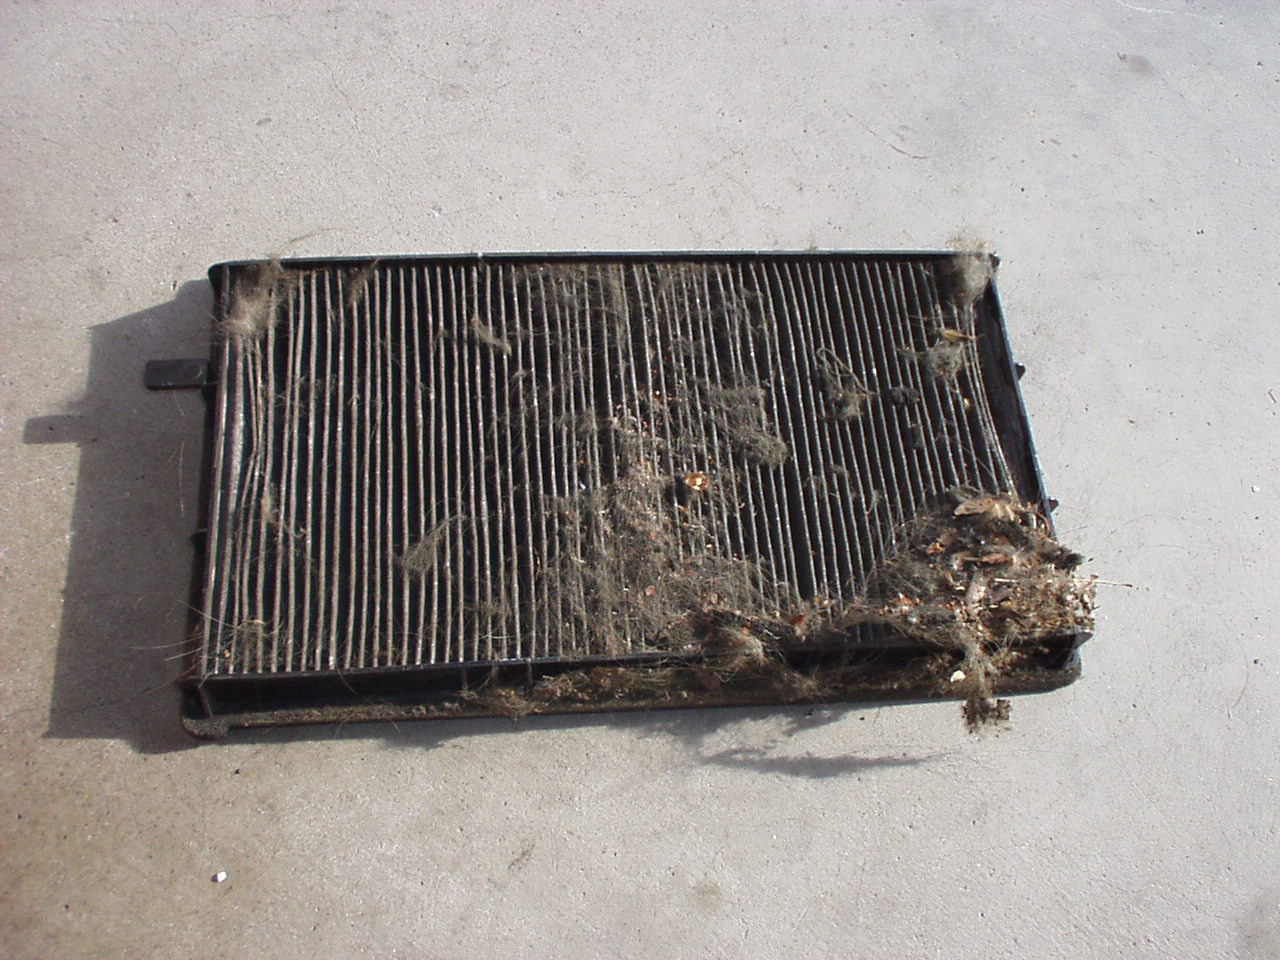
Six years of breathing! |
Eight phillips screws hold the face of the glove box in place. |
One 10mm bolt above the courtesy light carries the weight of the glove box. |
Snap down the soundproofing panel and unplug the courtesy light. |
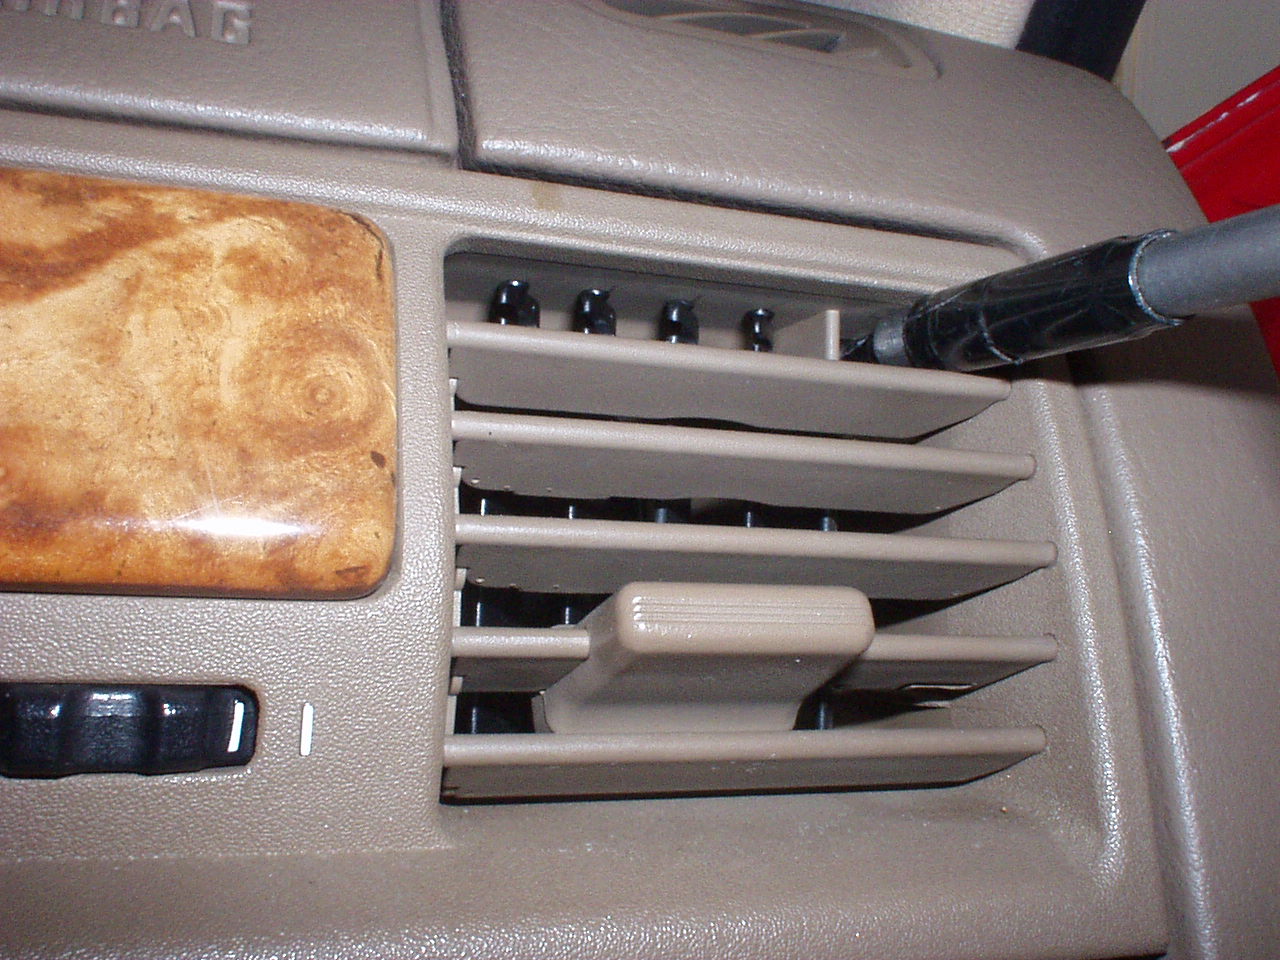
The
air duct is held in place by two plastic rivets. This is the top
one. (note the tell-tale scratch marks - this one has been
removed before) |
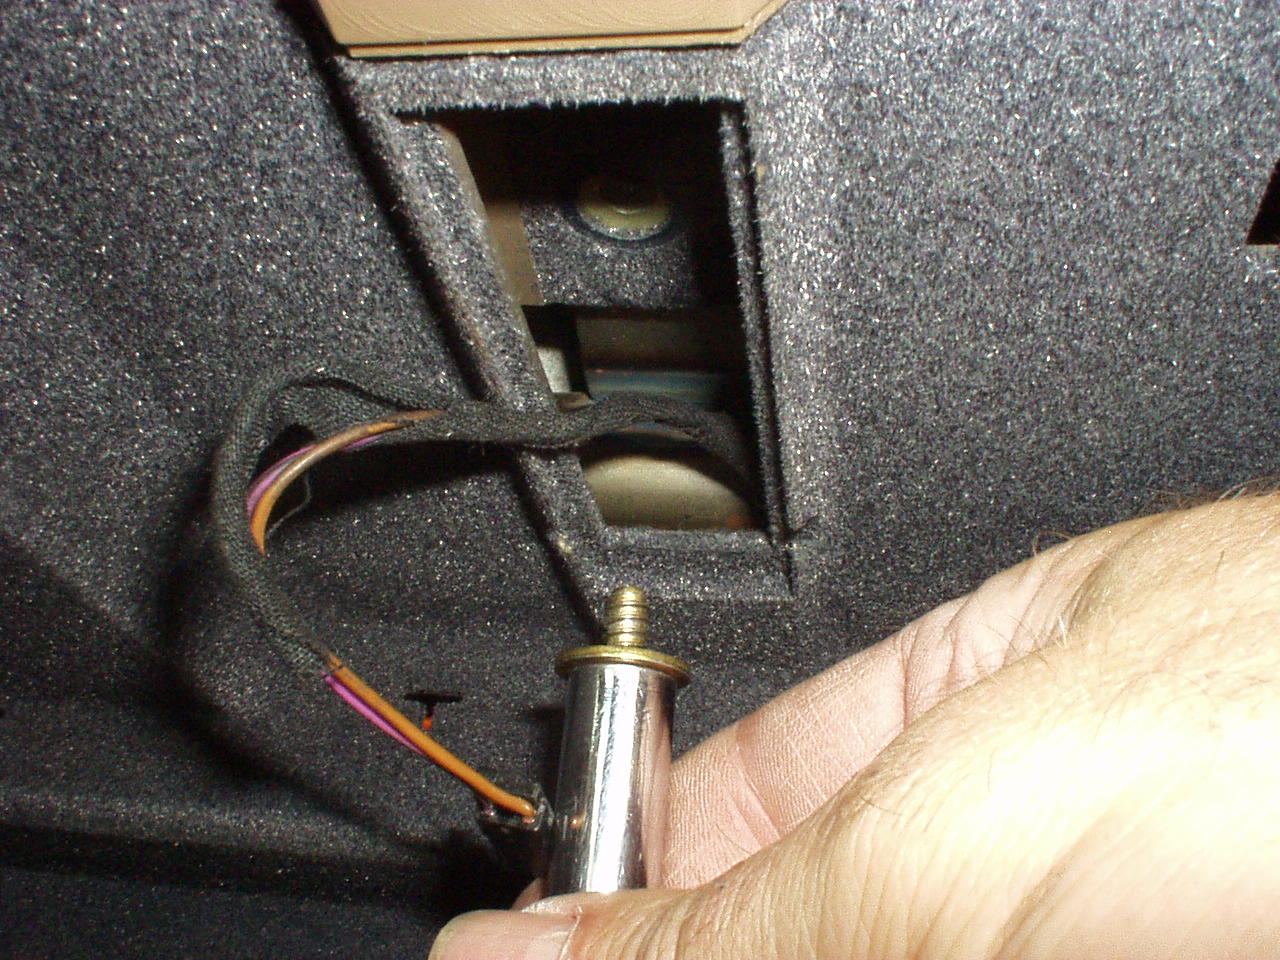
And this is the lower plastic rivet holding in the air duct. |

A close up of the lower plastic rivet partially removed (they just pull out). |
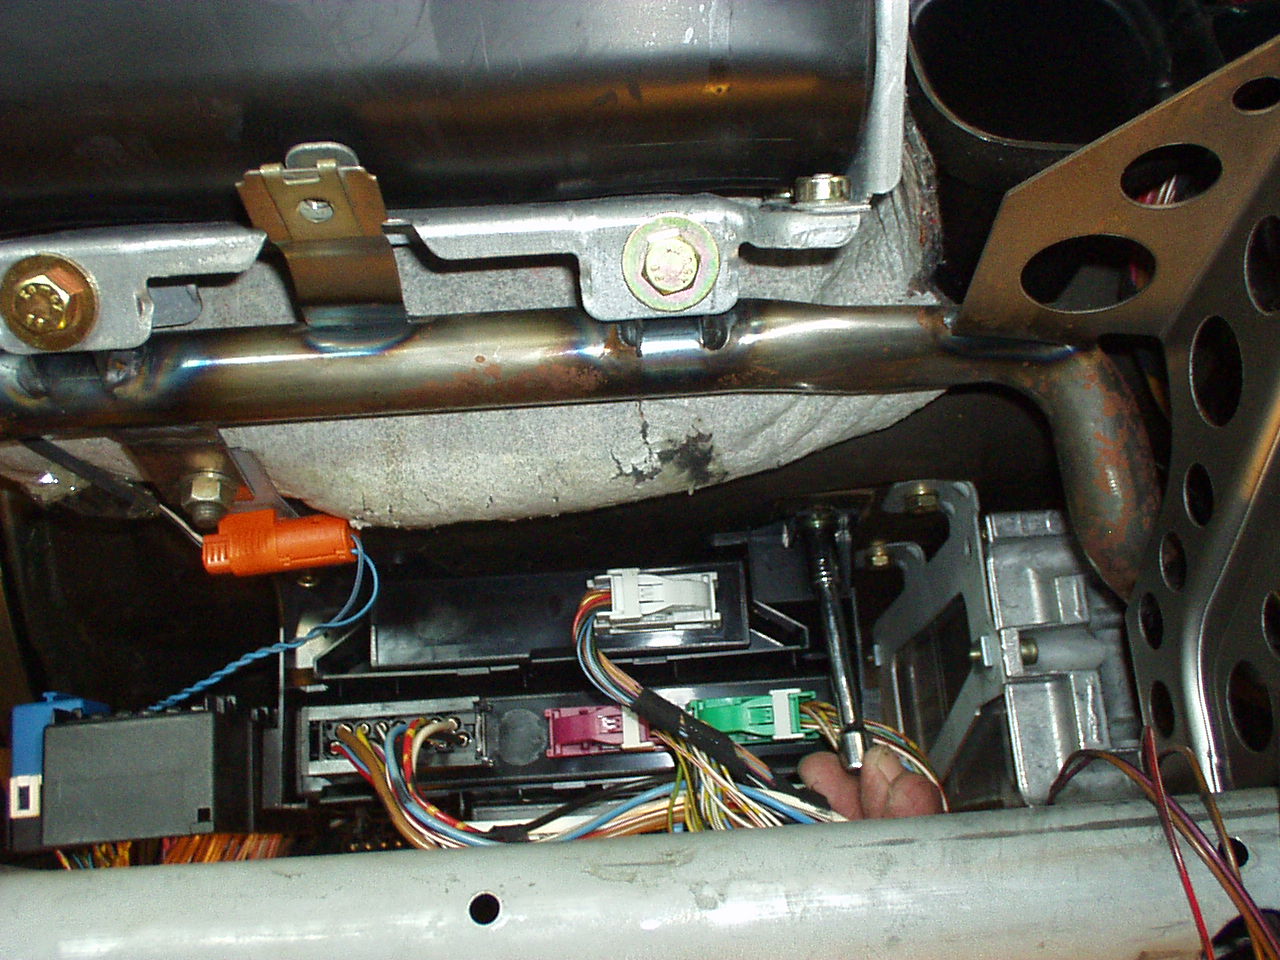
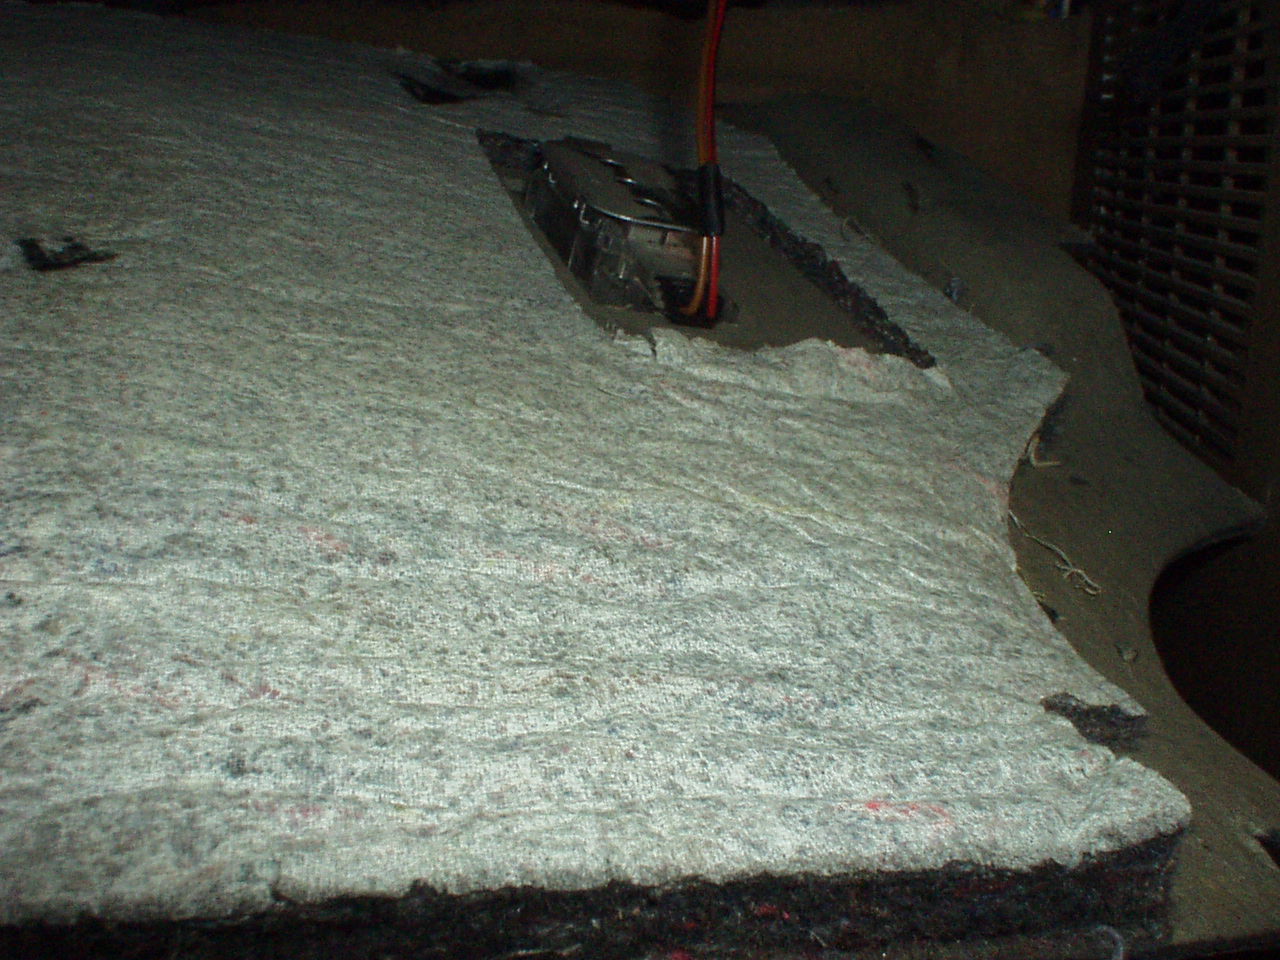
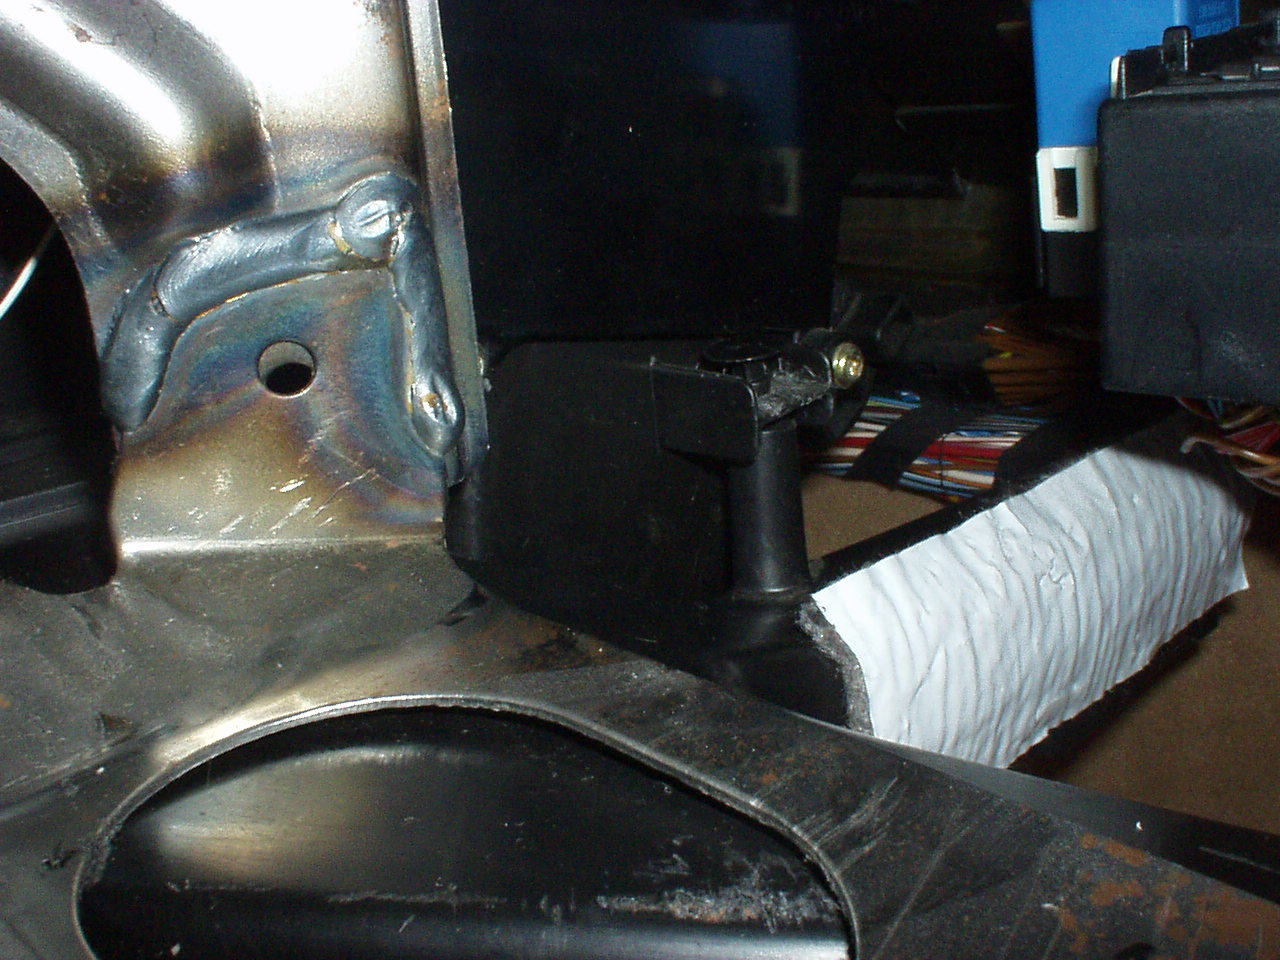
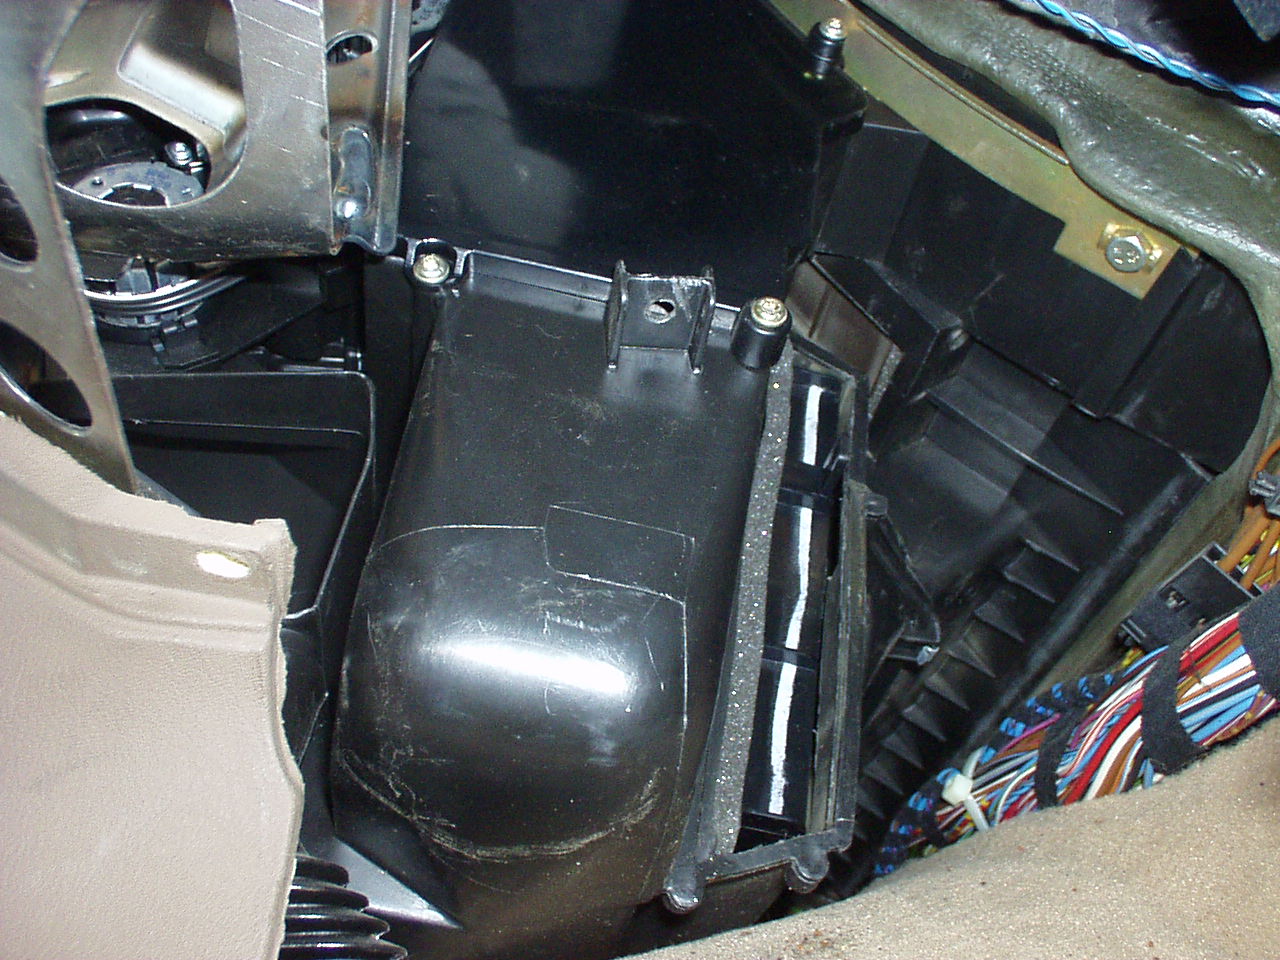
Now remove the two bolts that hold the electrical junction box up, and bend it down out of the way. |
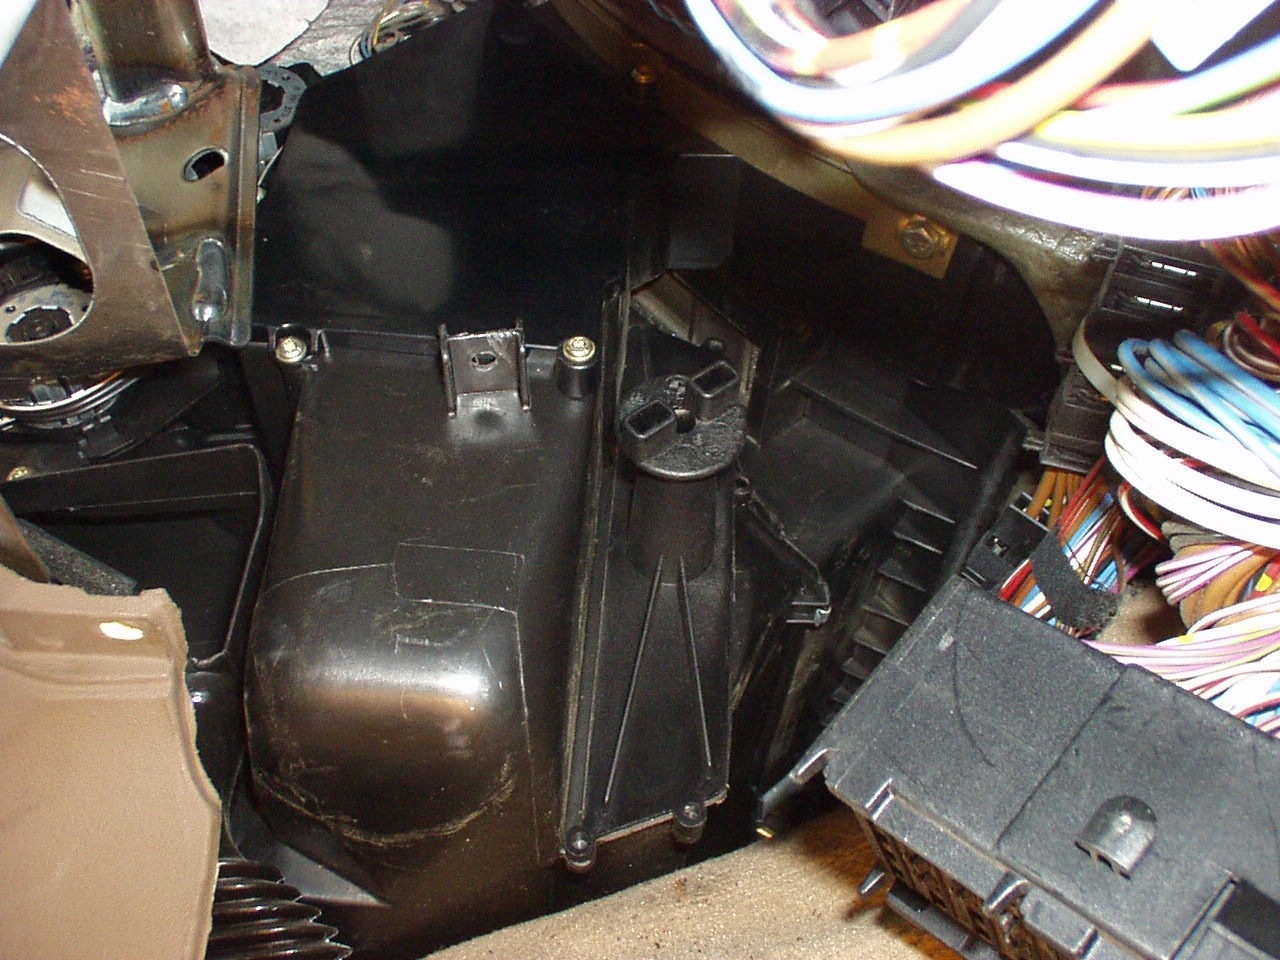
If
you could get your head in the glove box hole where I stuck the camera,
this is what the cover of the cabin filter would look like when in
place. A quarter turn on that round knob in the center of this
pic will release the cover. |
Cover
open. Filter loose in its cavity. It has to be
pressed to the left (toward the rear of the car) to seat it on its
gasket before the cover will go back on. |

Old filter vs new filter. |

(Camera
is turned sideways) You may want to remove the crud from the
bottom of the filter cavity, or the new filter may not fit. |

Wife's tooth brush worked well to clean cavity. |
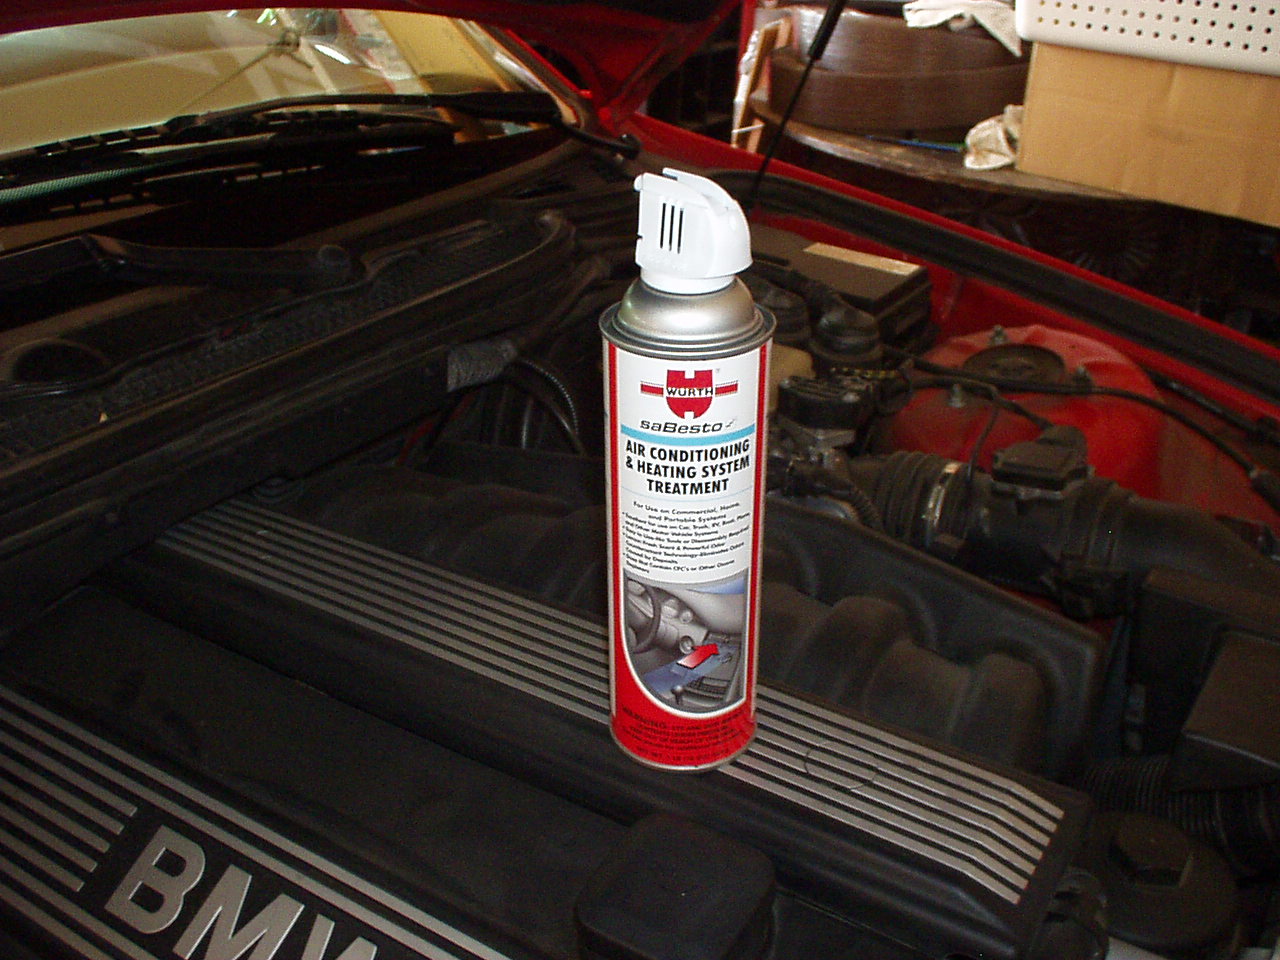
If
you have milew odor from your heater, you may want to spray some
disinfectant through it while the filter is out. Put the filter
cover on, fan on high, both hot and cold positions. This Wurth
stuff is a little pricey. I have previously used Lysol with good
results. |

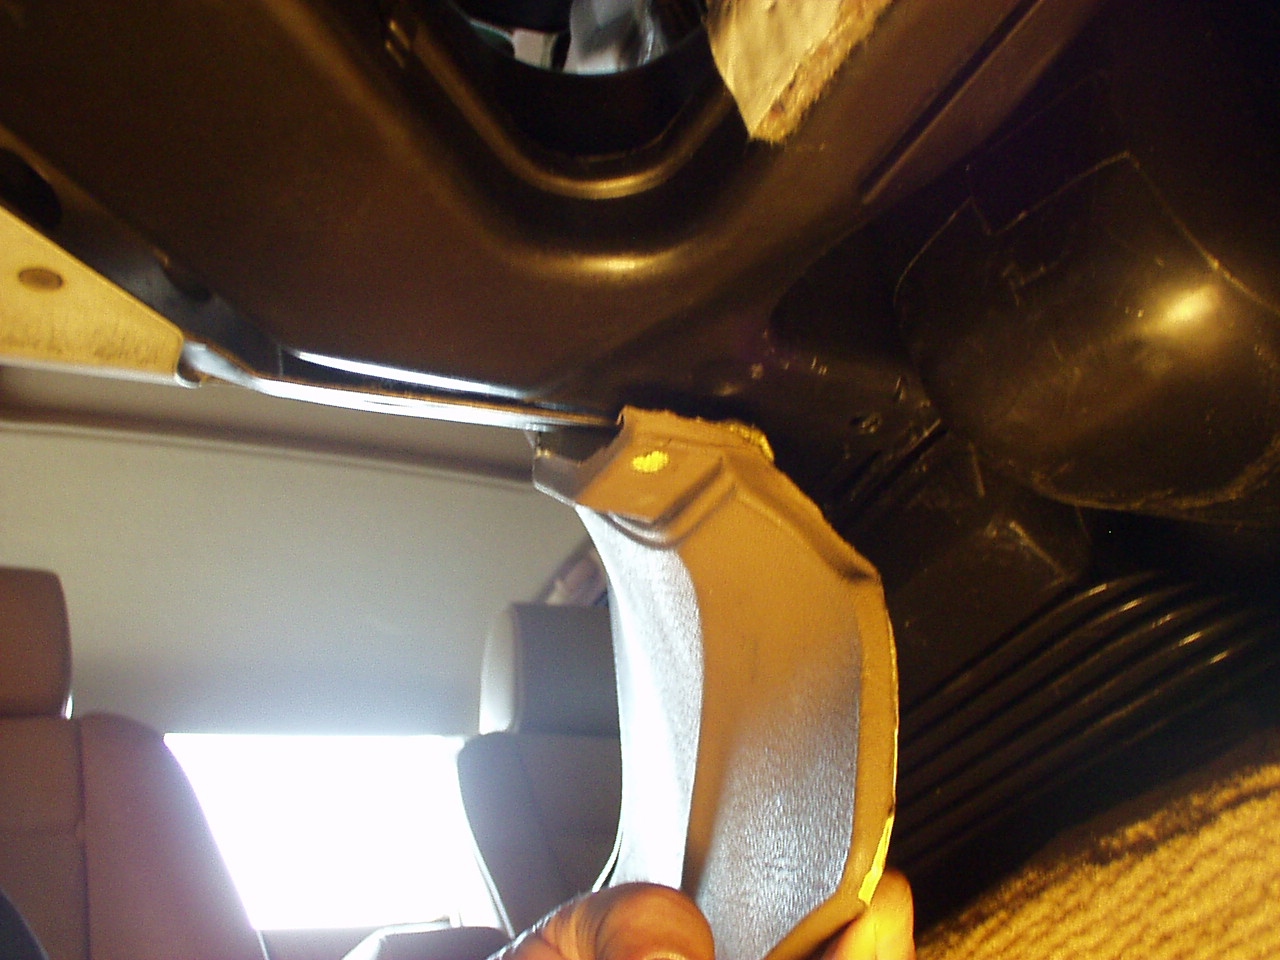
The
filter is made to bend so that you can get it around the corner and
into its cavity. This is an inexpensive aftermarket filter.
Real BMW filters have a layer of charcoal fiber to make outdoor
odors less noticable (e.g. the dead skunk you just drove past). |