Windshield Repair       

Page  1 2 3 4 5 6

I am told this is one of the most challenging body restorations on the car.  The reason for the repair is the typical refrain - rust.  GM, in its wisdom, put small 1/2" drain holes on the left and right of the windshield sill.  These holes were supposed to allow water from the glass to drain down behind the fenders and into the rocker panels then out the back end.  

Ok so you see the problem here.  Junk flows into the holes, plugs them, and then the water sits and rusts out the lower sill. 

Clarks provides a very nice replacement piece for this sill and that's what I ordered to do mine.


Once again I am a little short on pictures for interim steps, but let's see if I can highlight where we were and how we got to the picture at the left.

The windshield was completely removed for this replacement.  Removal of the cowling is also required to avoid any additional damage to stuff you may want to keep.  

You will see the lap joint there the old panel meets the dash and extends about 1 inch or so up onto the dash panel.  As you remove this piece, you will notice it ends on the left and right before it gets to the fender.  This gap was filled with lead in the original setup so don't get worried.

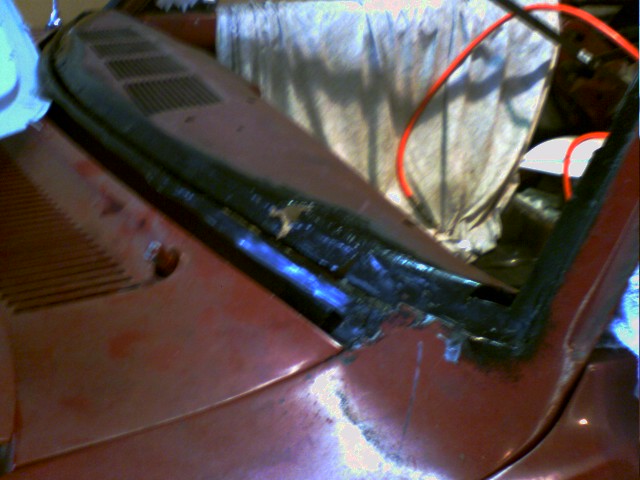
Removal of this piece must be done carefully to avoid damage the the grill on the dash panel.  What you see in the top left picture is the area just after coating it with POR15.  Note in the dead center of this picture there is a hole in the dash panel.  The rust had extended this far.  Fortunately the Clarks repair panel gives you quite a bit of extra steel to help account for this.  

The middle left picture shows how I test fit my replacement panel to ensure I left enough to fill in the bad stuff on the dash.

 The bottom picture shows a bit more of the "before" shot.  Notice the repair panel put in place just to check fit.  Also you will notice the rust around the remaining frame of the windshield as well.  Some sharp eyes will also notice the steel bar running from the top of the windshield to the back of the car.  I used these to ensure the distances etc. were the same on both sides of the car.  

With the car on jack stands, it was clear there was some flex in the body as the distances on the right and left of the windshield were off.  These braces fixed that problem before it was ugly.  Door gaps etc were rechecked to ensure everything was OK.
    

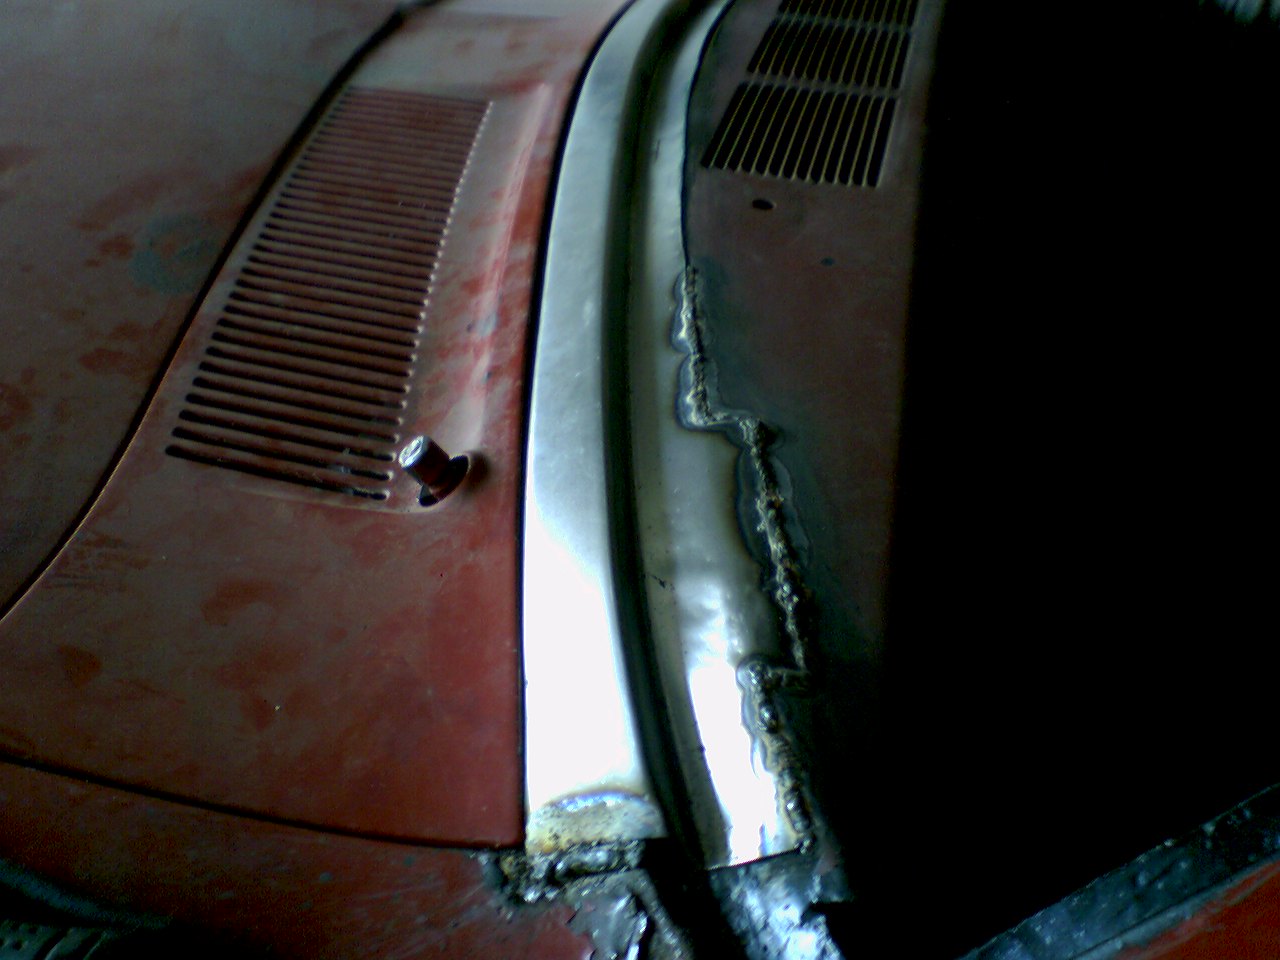
Welding this strip in place can be a challenge.  Distortion can severely impact the grill area in the center of the dash, so you really need to avoid excessive heat.  In my case I did a good job of avoiding heat build up, but I did manage to distort one of the fins on the grill.  The distortion is very minor, and probably not noticeable by most folks, but I know it and that's all that matters.  


Taking a look at the top left image you can see how I started to weld in the panel.  I never said I was an expert welder, but I did get good penetration on the piece eventually.

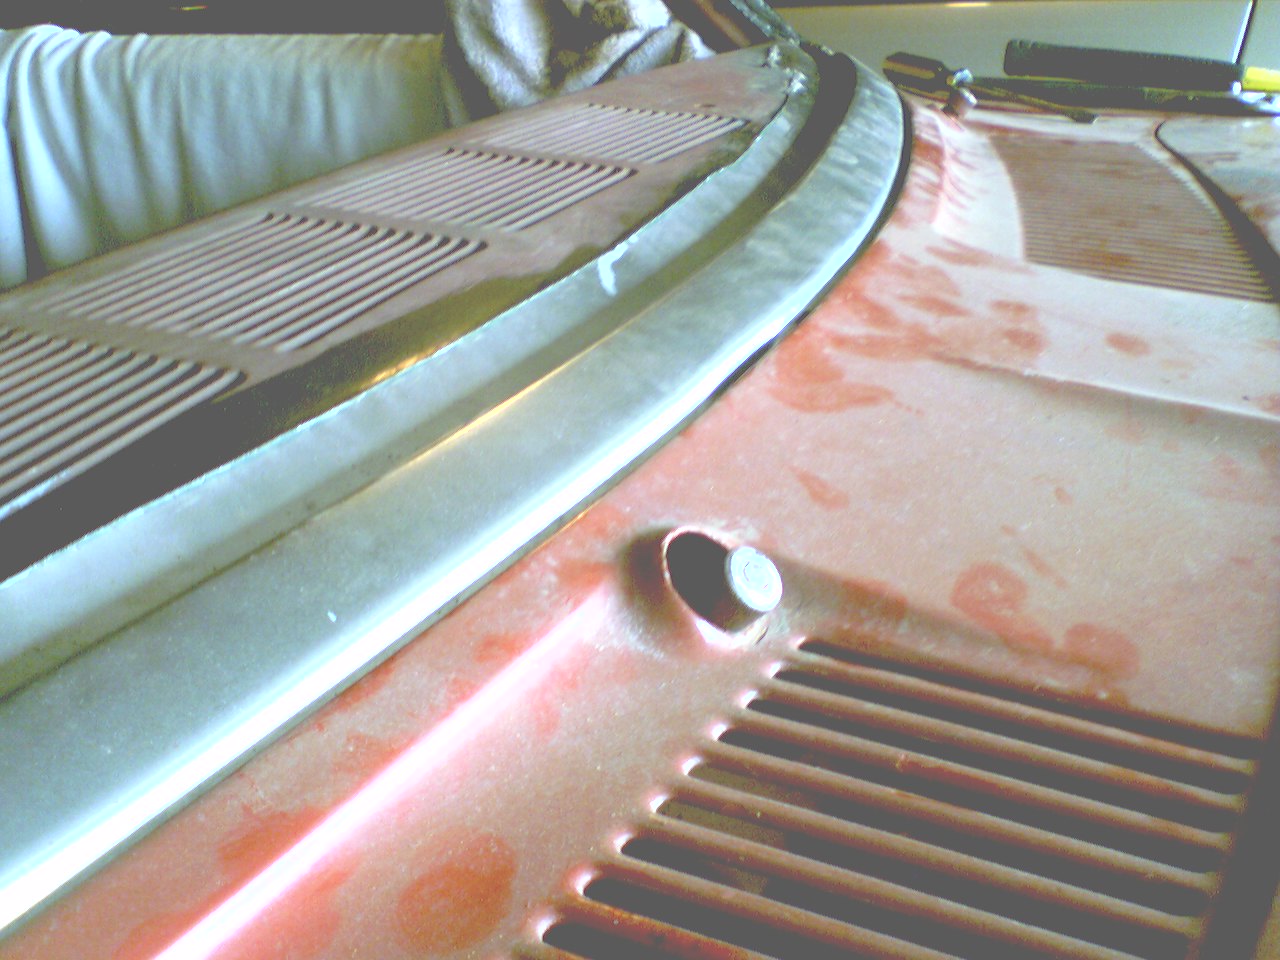
I did have some challenges with how the new piece fit.  It didn't have the same bow in it as the what was in the original so I welded the left side as you see it, then went to the right and clamped down the edge into position and welded.  

This caused some other fit problems with regard to the cowling.  With the clamping of the ends into position, the sill piece flared up a bit where it meets the cowling, leaving an uneven gap from left to right.

Additionally I noticed the stud for the right windshield wiper was bottoming out on the cowling.  From chats with folks who have done this, the fit issues are not unusual, and solutions include finding a cowling that does fit, or moving the stud.  I am opting for moving the stud.

The second picture on the left shows this gap issue, and the stud position issue.  Clicking on the image will give you a larger view of the gap I am talking about.
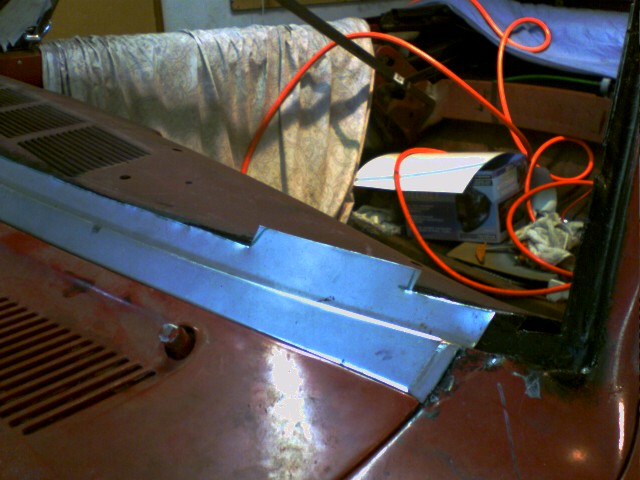
 

After welding in the piece, I did some test fitting of the windshield to be sure I didn't totally mess up the fit, and the glass set in just right.  I then turned my attention to body filler and fixing that gap. 
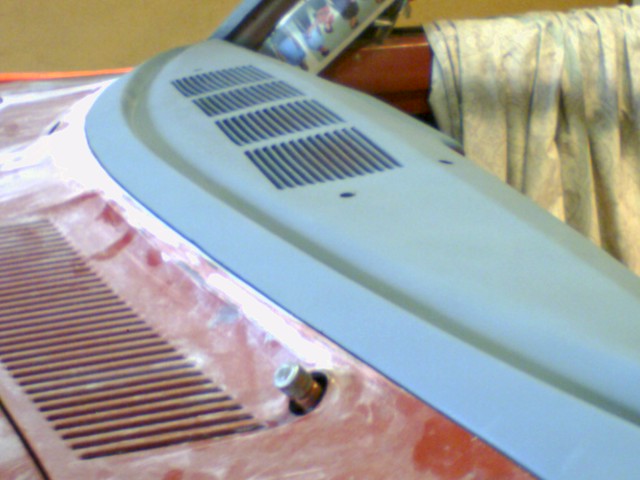
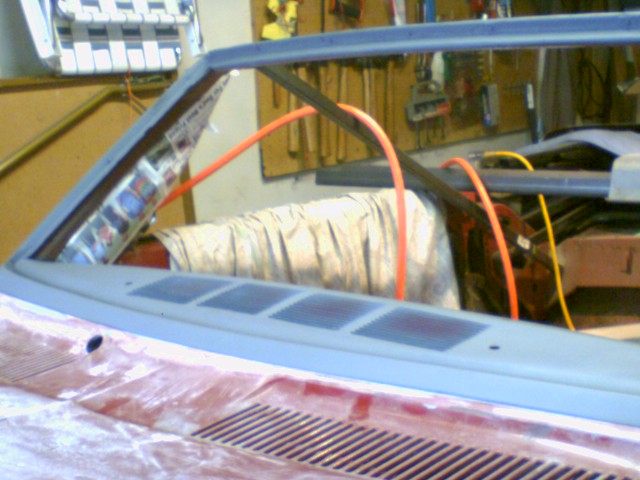
The pictures to the right show  where I ended up after filler and some primer.  Ok so how did I fix the gap issue I have been talking about?

I clamped in the cowling where I wanted it to be in the final assembly,  This didn't necessarily line up with the factory holes for mounting screws, but I didn't care.  These can be relocated.

After clamping in place, I took some EverCoat filler and filled the entire gap right to left.  I made sure to press a fair amount of filler into the gap so there wouldn't be any paper thin filler filling up the gap.

Just before the filler set up. I took a putty knife and slid it in the gap to create a uniform gap from right to left.  Once set up, I sanded the filler with the cowling in place to ensure the shaping etc. was consistent.  You will notice there is some filler residue and sanding marks on the cowling.  Since this is to be repainted later, it wasn't a problem.

Pulling the cowling off was a bit of a challenge since the filler was semi attached to it, but a little nudge and it came off clean.  I used a utility knife etc. to clean up the edges and remove any excess filler.  A little final sanding and we were good.

After being satisfied with the results, I painted it with an acid etch primer which is what you see in both of the images on the right.


There is certainly more sanding etc. to be done before paint, but the heavy lifting and fabricating is done.