Ford Super Duty Truck Sway Bar Bushing Replacement
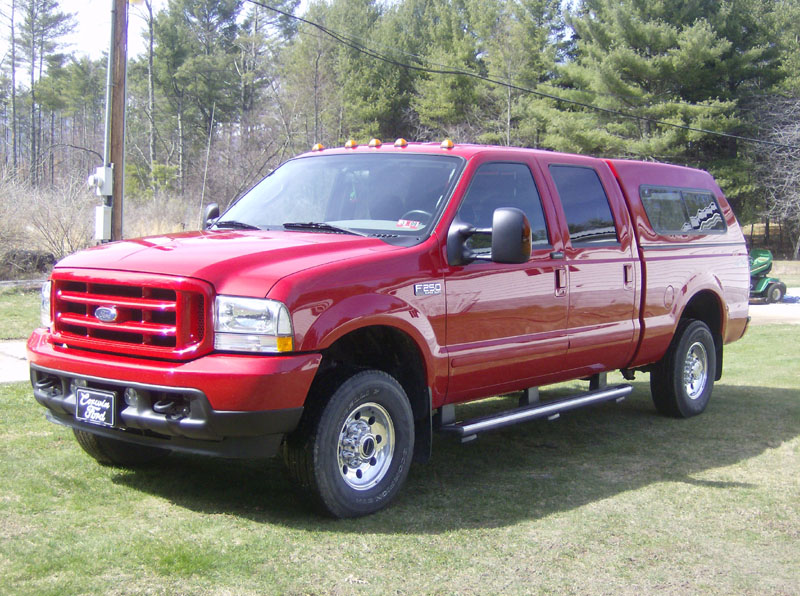
2004 F250 4x4 XLT Sport
Click Here for a PDF version of this article
For
my truck, diagnosing the sway bar bushings as the problem was very easy.
I noticed the typical “clunking” under the floorboards as I
drove over potholes and such. As I laid under the truck, my Dad shook it by pushing on
the top of the driver’s side window opening (with the window rolled down) and
I could EASILY see the sway bar rocking around inside the rubber bushings that
mount to the axle.
Tools
& Parts Needed
- Energy Suspension bushing kit part number 4.5186G
*NOTE* some "early" 1999 model Super Duty's will use the bushing kit part number 4.5192
-
15mm socket and/or wrench
- 18mm socket and/or wrench
- 13mm socket and/or wrench
- Shop press is helpful
|
Torque Specifications |
|
|
Description |
Torque (ft-lbs) |
|
Sway Bar to Front Axle |
41 |
|
Lower End Link to Sway Bar |
80 |
|
Upper End Link to Bracket |
80 |
|
Sway Bar Bracket to Frame |
35 |
Procedure
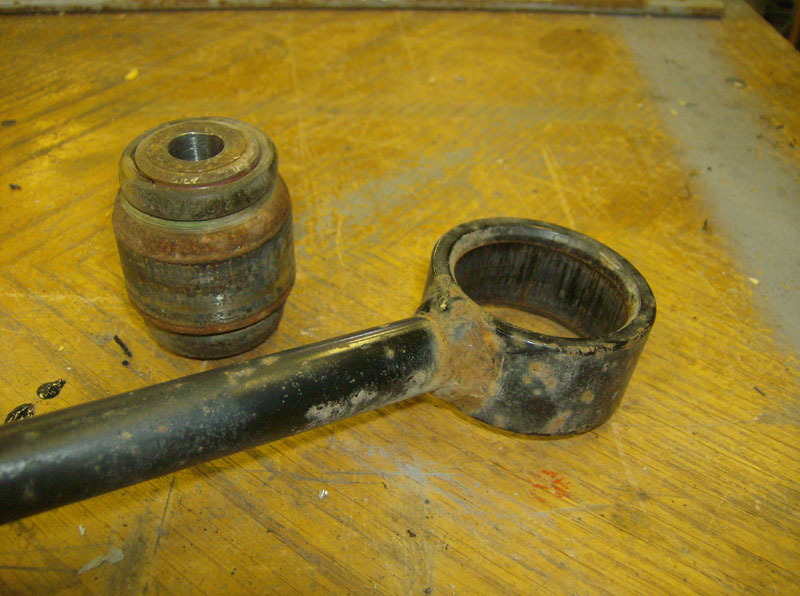
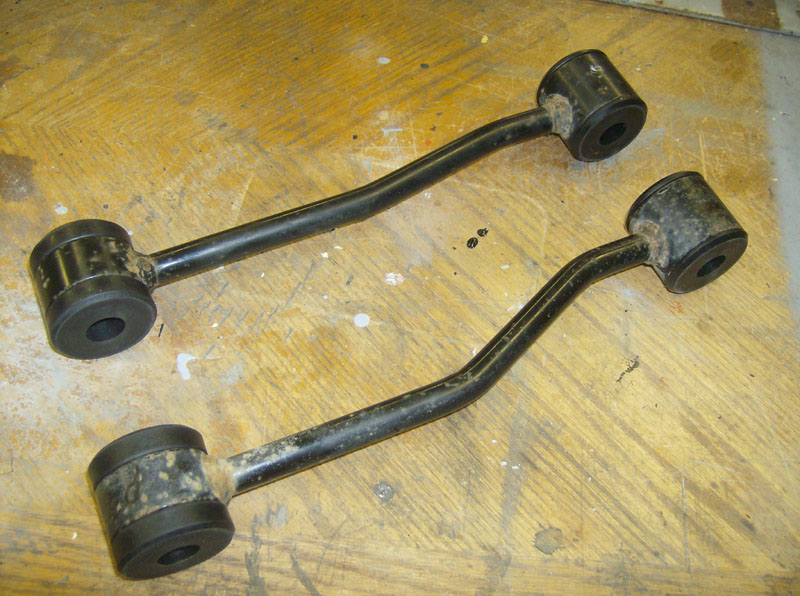
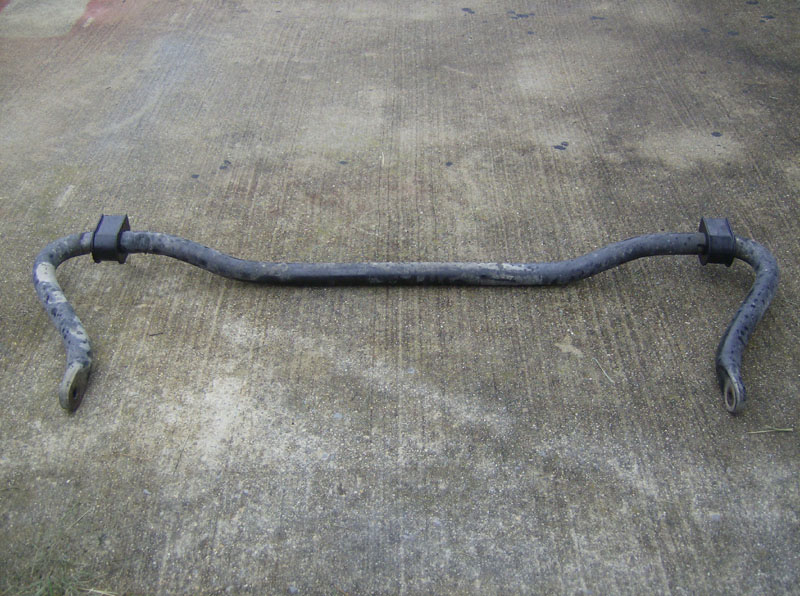
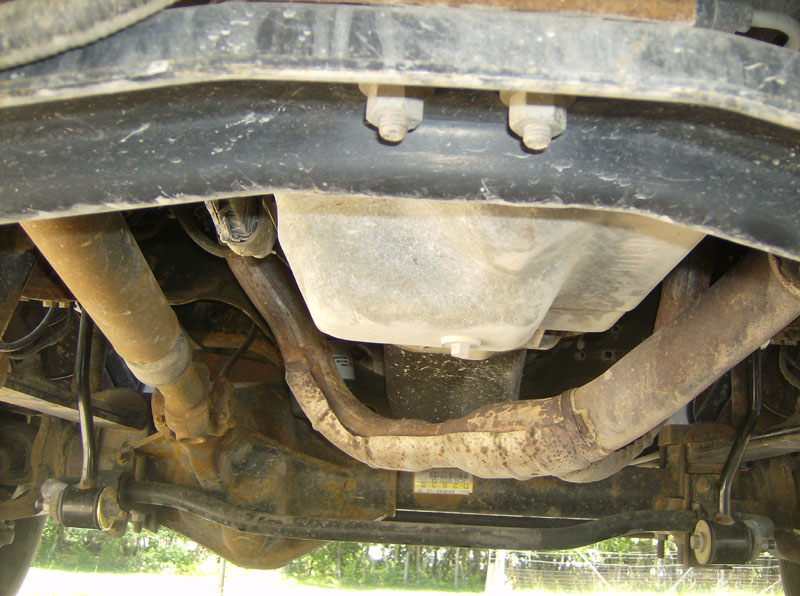
First I disconnected the end links by removing the two bolts that go through the sway bar and end link, one on each side. Note - I had to use the “after” pictures to illustrate the first few steps because I decided to write this article after I had the sway bar and end links removed.
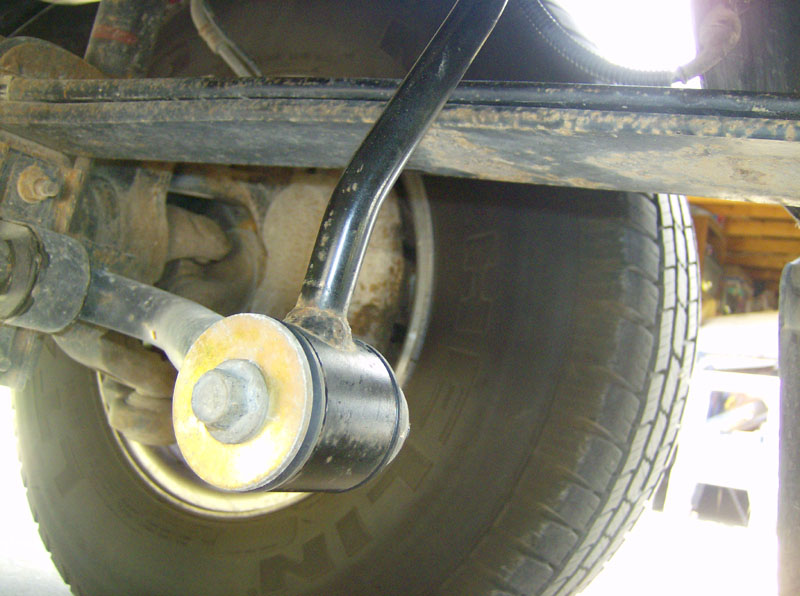
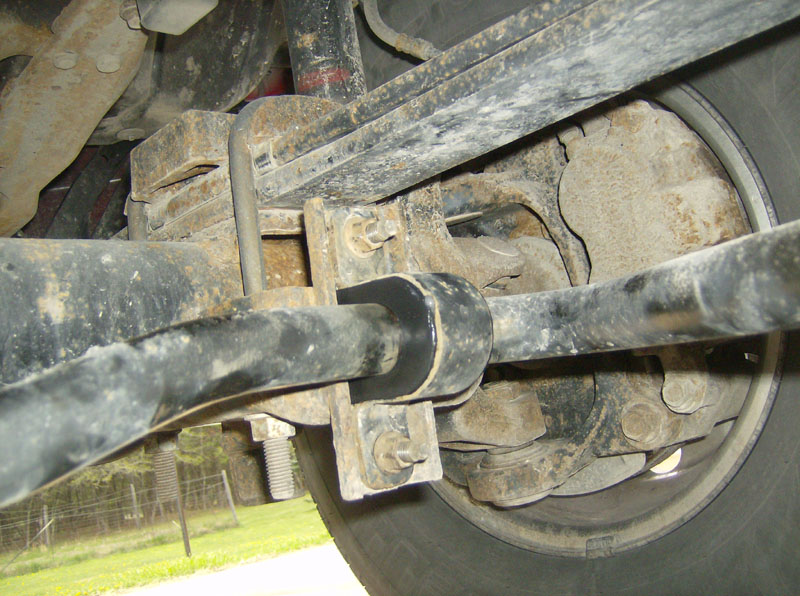
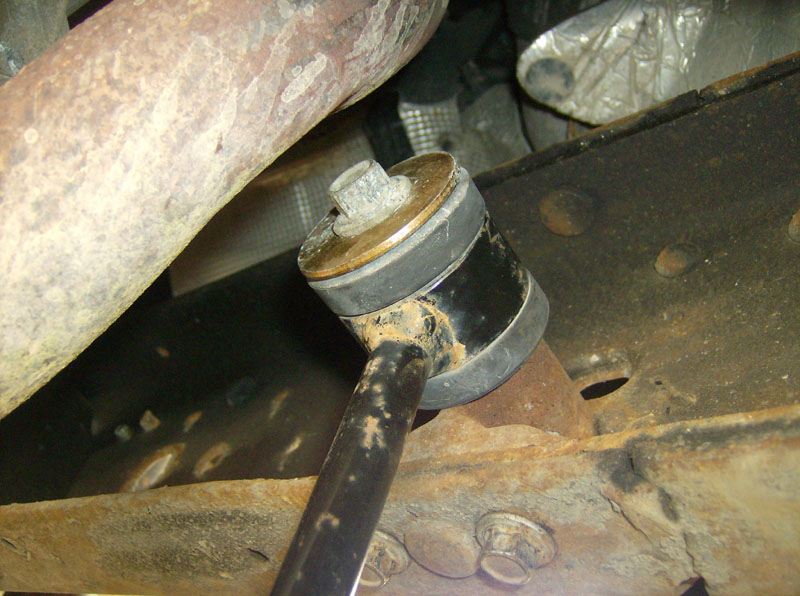
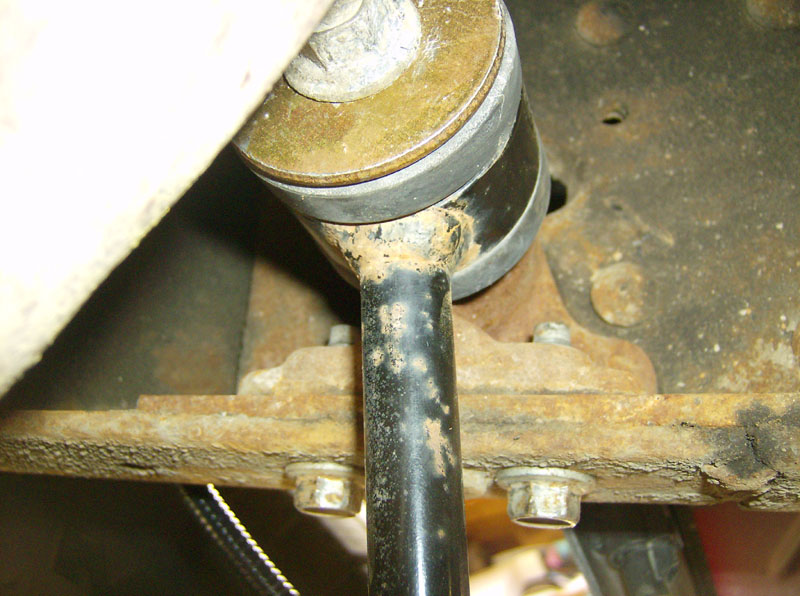
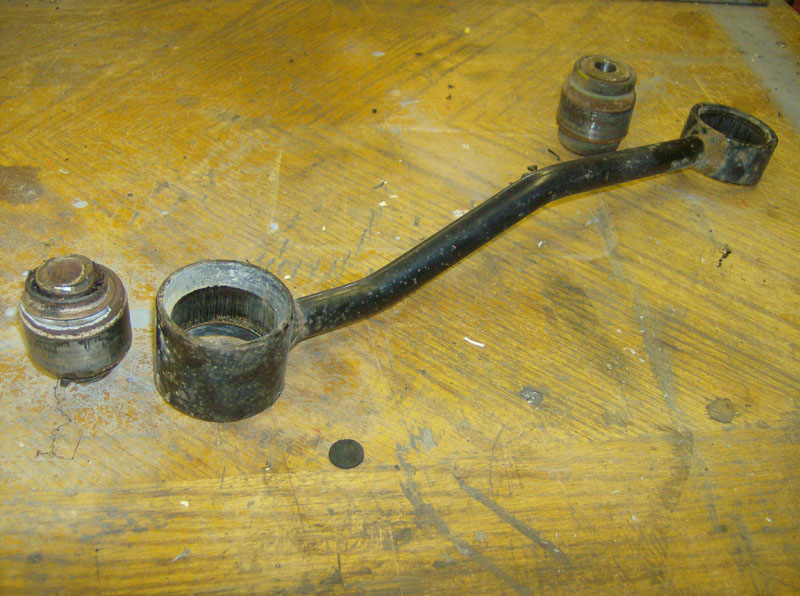
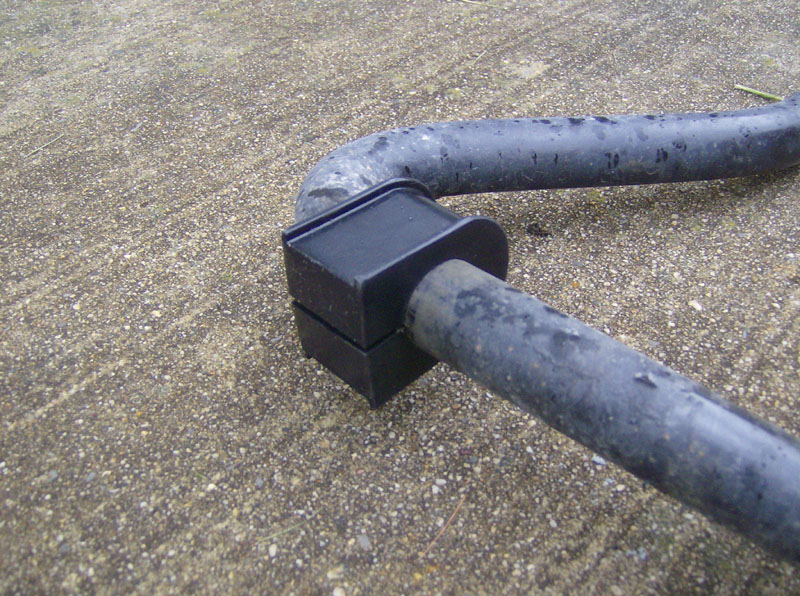
Next I disconnected the sway bar from the axle by removing four nuts, two on each side.
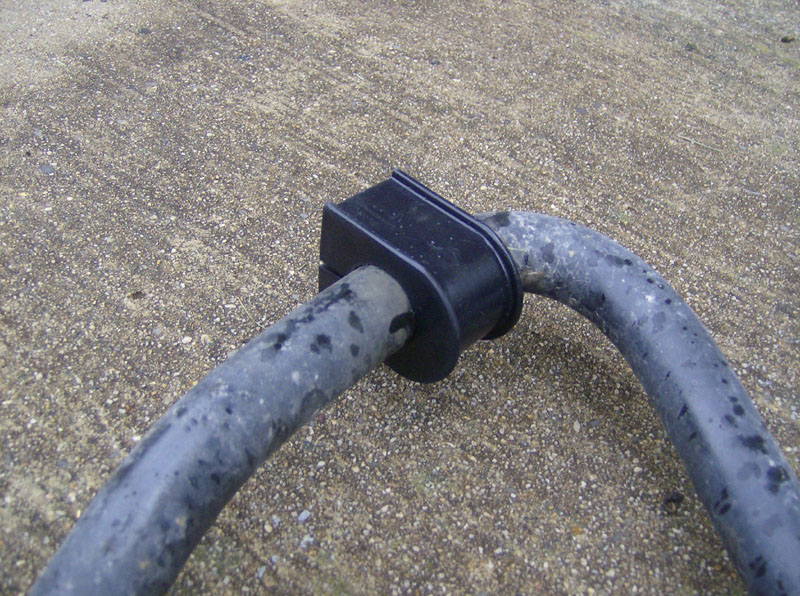
Next I removed the driver's side end link by removing the bolt that goes through the end link, spacer block, and frame.
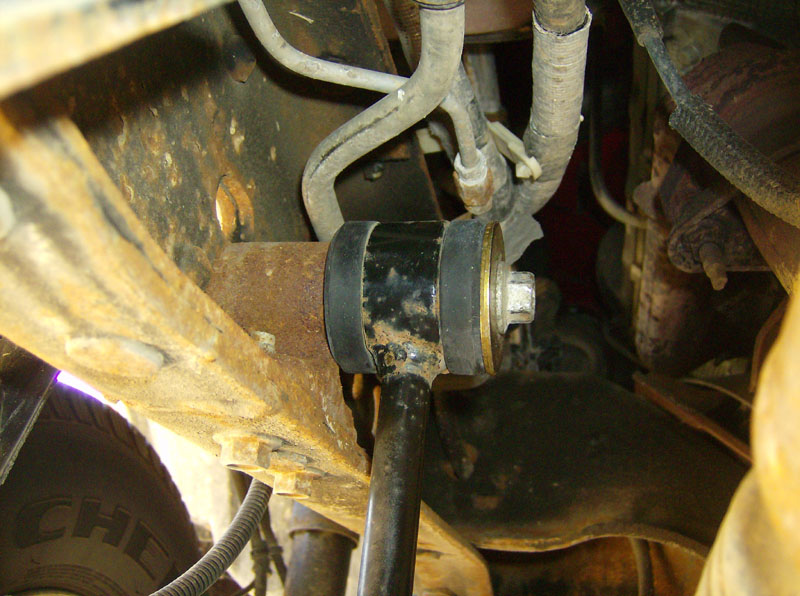
Next, on the passenger's side, I removed the bolt that goes through the end link and frame. You cannot remove the end link at this point because the bolt hits on the exhaust pipe. So, you must remove two bolts from the bottom side of the frame, that connect up into the spacer block. Now you can remove the passenger side end link.
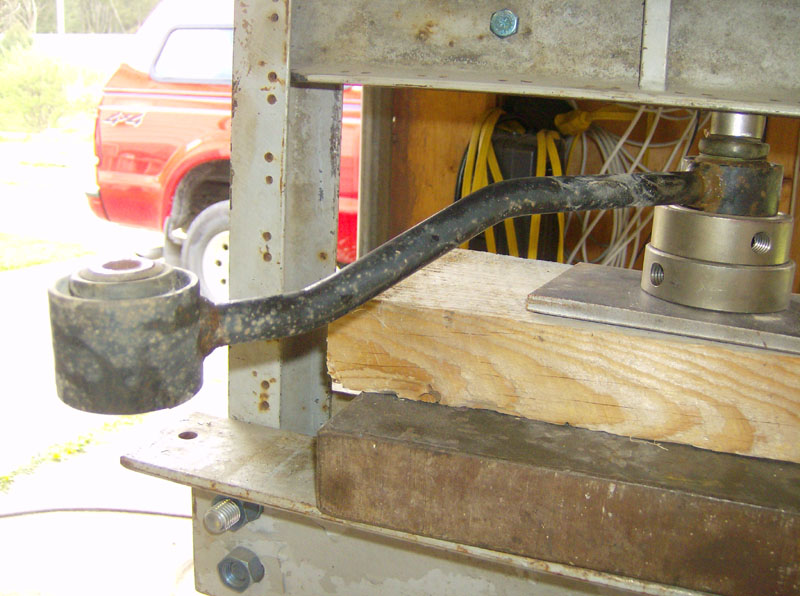
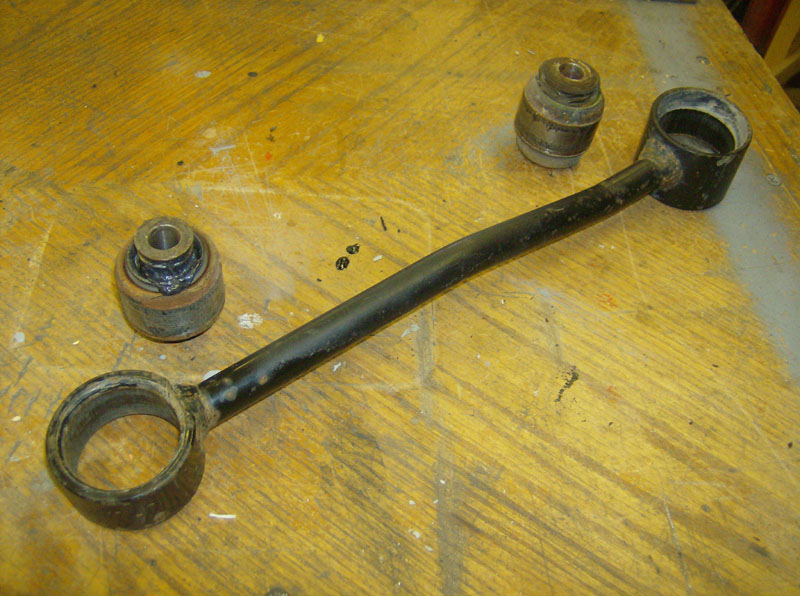
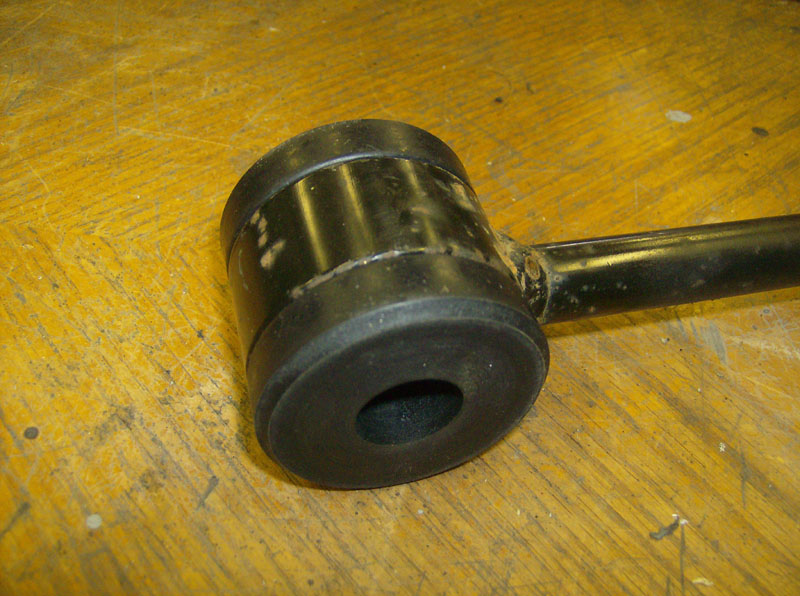
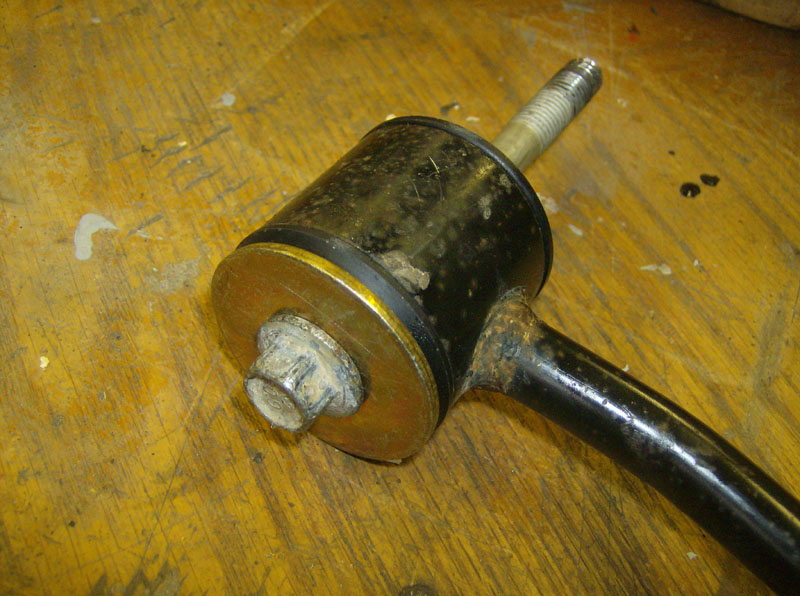
Now, I imagine that this part goes MUCH easier if you have a press. I do have a press so I didn't attempt to do this without one but it seems like it would be rough. Anyway, you must press out the old bushings from the end links.
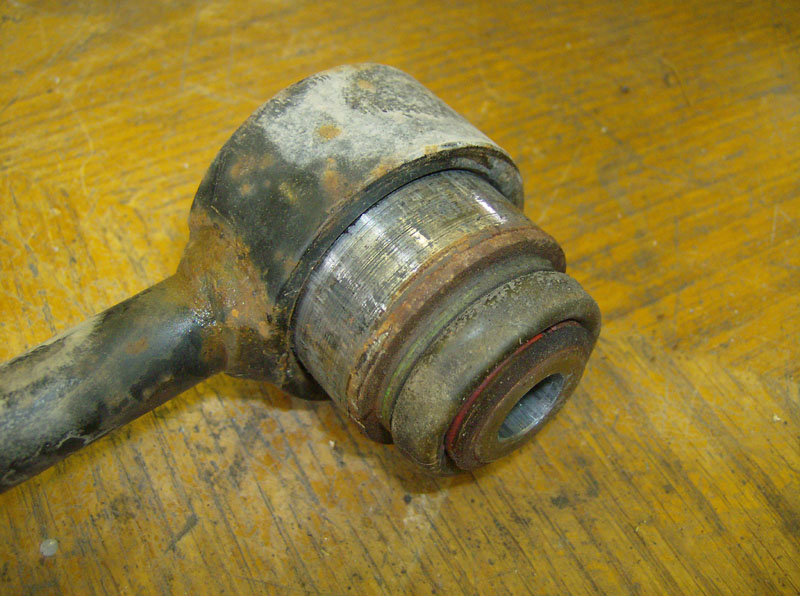
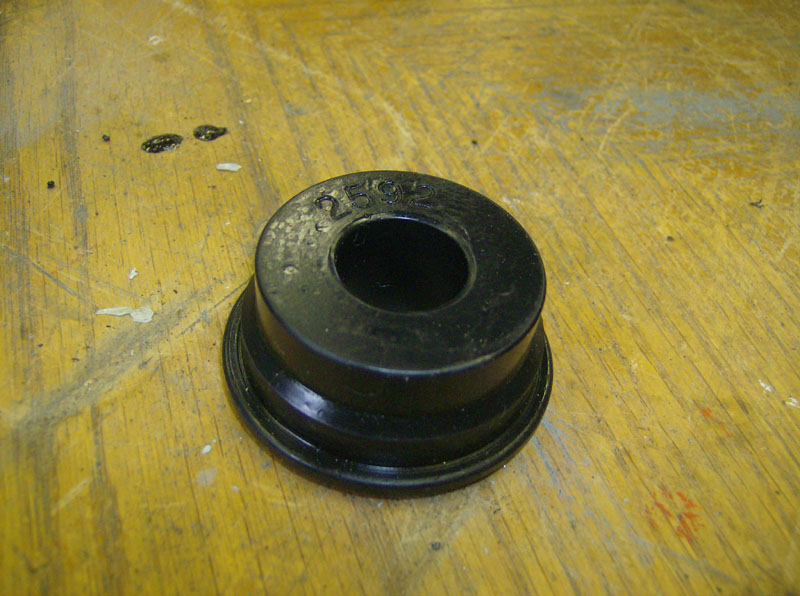
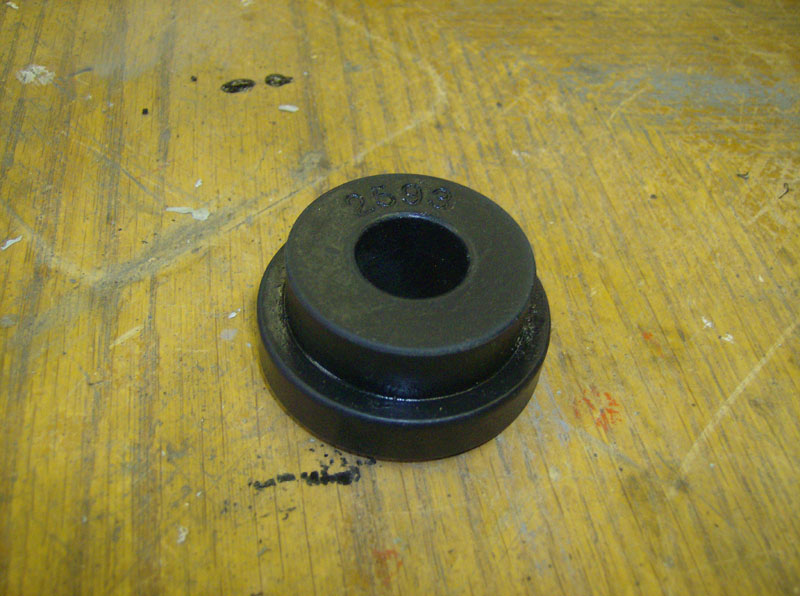
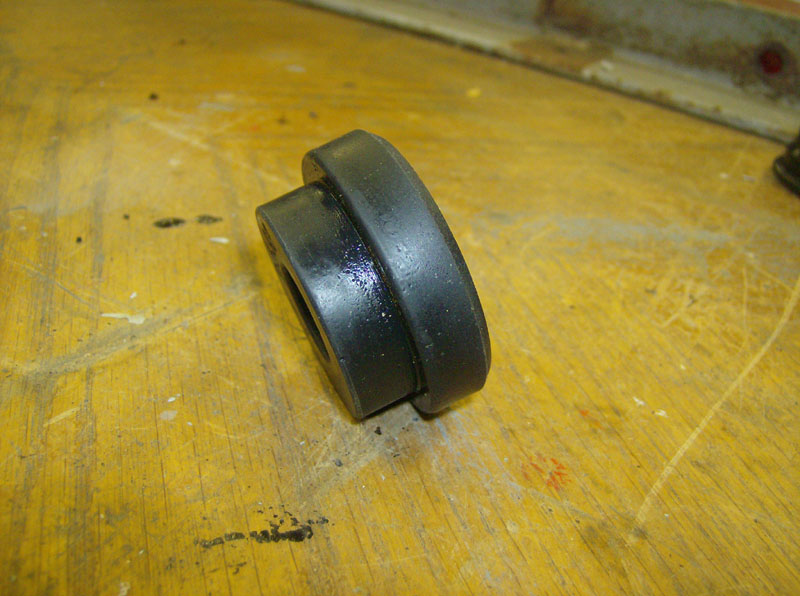
Once all four original bushing assemblies have been removed, you can install the urethane bushings in the end links. Apply a layer of grease (included in the bushing kit) to the inside of the end link eye. If you look at the end links you’ll notice that the eye on one end is wider than the other. Use the bushings stamped 2592 on the “wide” end and those stamped 2593 on the “narrow” end. I used the press to install the bushings and to install the metal spacers. I also put a layer of grease on the inside of the bushings before inserting the metal spacer.


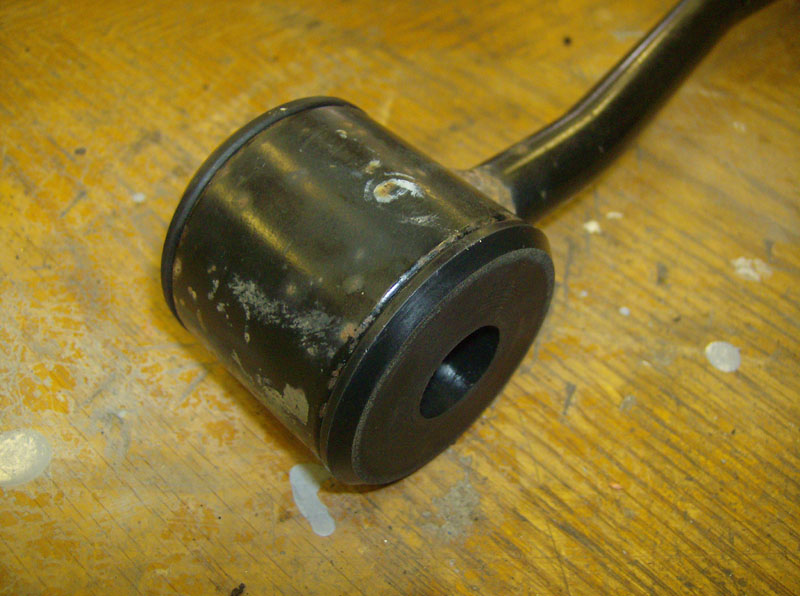
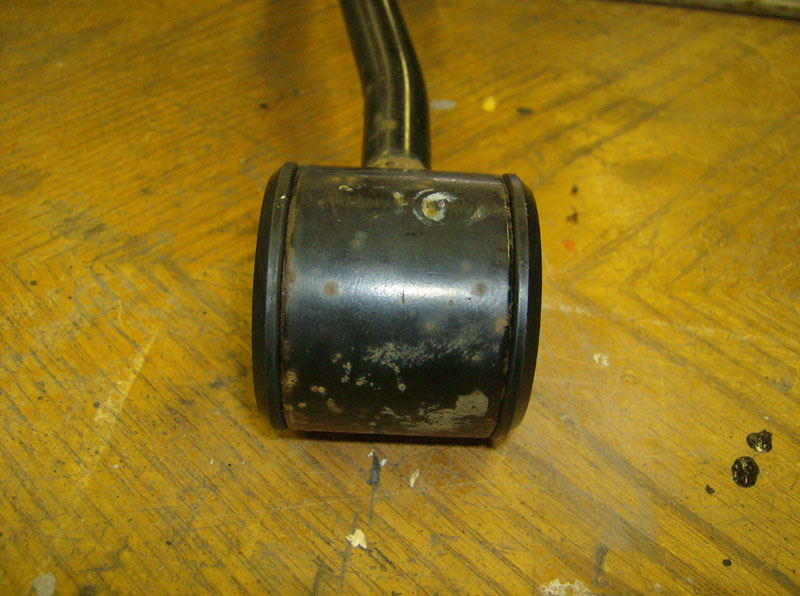

Now you can remove the old bushings from the sway bar and install the new ones in the same location. Also remember to apply the grease to the inside of these bushings where they contact the sway bar.
Now
it is time to reinstall everything. I first reinstalled the sway bar
to the axle. Again, I put a layer of grease on the outside of the
bushings, where the U-shaped metal straps contact the bushing. I
reinstalled the four nuts and left them loose.
Next, I reinstalled the passenger side end link by inserting the bolt (with washer) into the end link and through the block mentioned above. There is a shoulder on this bolt that is a very tight fit on the inside diameter of the metal sleeve. Again, I used the press to install this bolt into the sleeve.
Next
I installed the two bolts back through the bottom of the frame, into the block, and left them
loose. Then, I tightened the bolt that goes through the end link, block, and
frame. Then tightened the two bolts that go up into the block.
Next
I inserted the bolt (with washer) that goes through the lower end link eye and the sway bar,
and tightened it.
This bolt also has a shoulder on it, but the fit is not as tight so I did
not need to press it in. At this point I tightened the two nuts that
connect the sway bar to the axle, on the passenger side.
Next
I installed the driver's side end link by first inserting the bolt (with washer)
through the
top end link eye (this bolt also has a tight fit like mentioned above), block, and
frame. Then I installed the bolt (with washer) that goes through the lower end link eye,
and the sway bar. Then I tightened both bolts and the two nuts that
connect the sway bar to the axle, on the driver side.
Now
you're done! Enjoy your now non-clunking super duty suspension!
Questions or Comments? Email jmray@frontiernet.net