Ford Super Duty
Rocker Panel Marker Lights
2004 F250 4x4 XLT Sport Crew Cab 5.4L
Click Here for a PDF version of this article
Since buying my truck 4 years ago, I've done a number of mods & maintenance procedures. Up until this point, all of these were intended to have function over form. For a change, this mod is mostly just for looks! Small amber marker lights mounted to the "pinch weld" below the rocker panel.
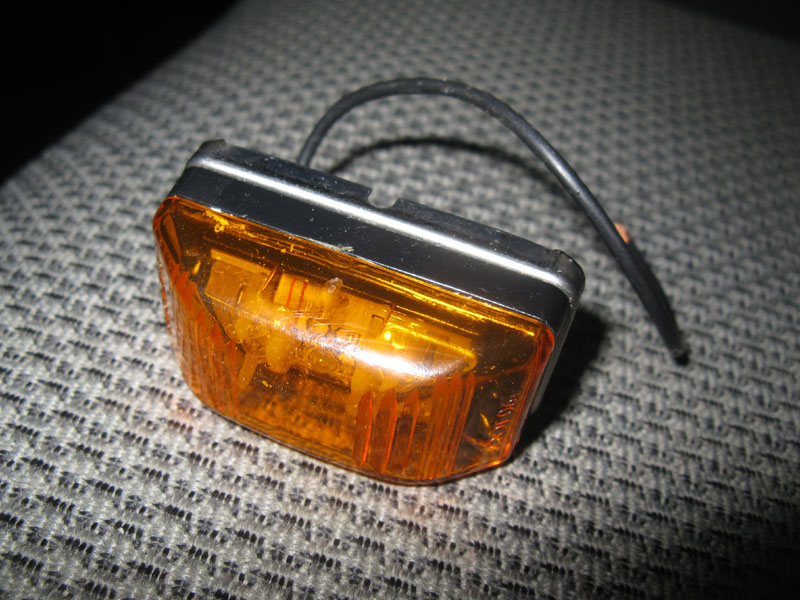
I purchased six amber marker lights from superbrightleds.com. The M11 series, part number M11PC-A3. They are 2.125" x 1.125".
After doing some measuring, I decided that three lights per side wasn't quite what I was looking for. The spacing just didn't work out with my step brackets and such. So I ordered two more so I could space them a little closer and have four on each side. That seemed more balanced to me.
I spent quite a bit of time measuring and I ended up spacing the lights 20 inches apart. Here's a rough sketch of how I spaced them.
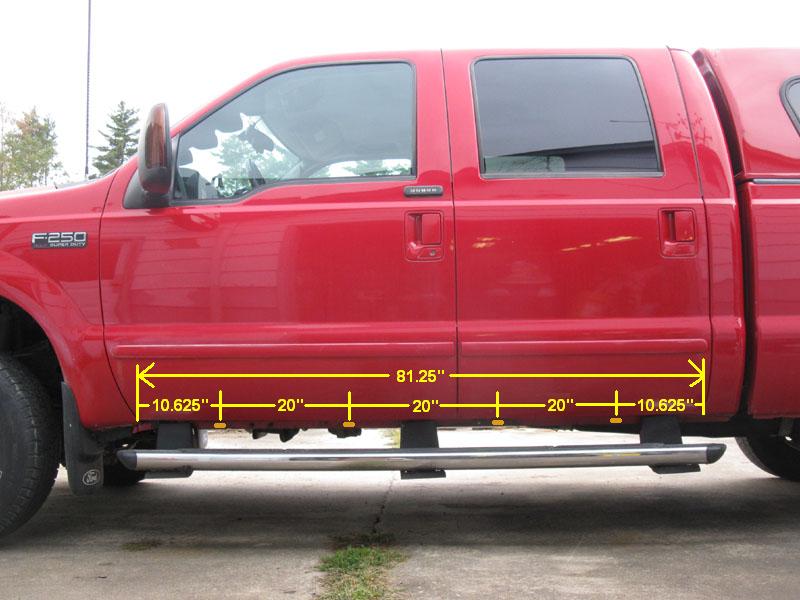
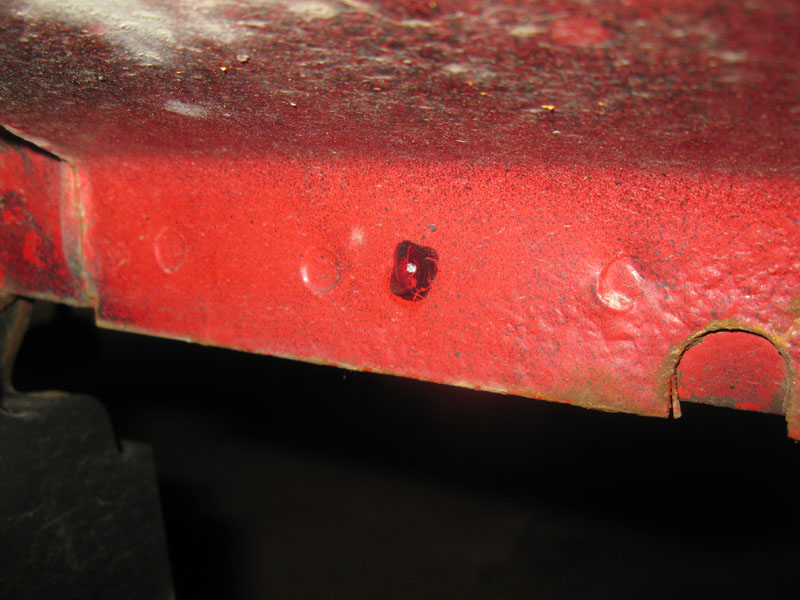
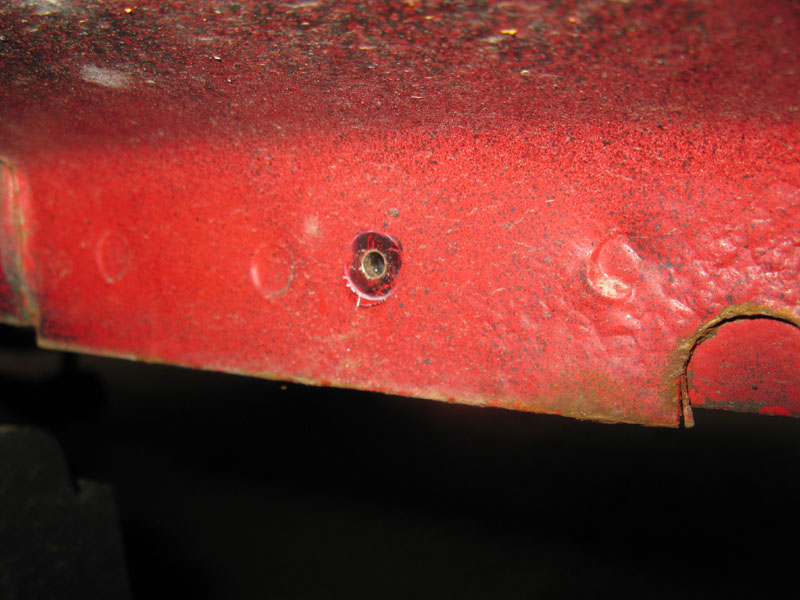
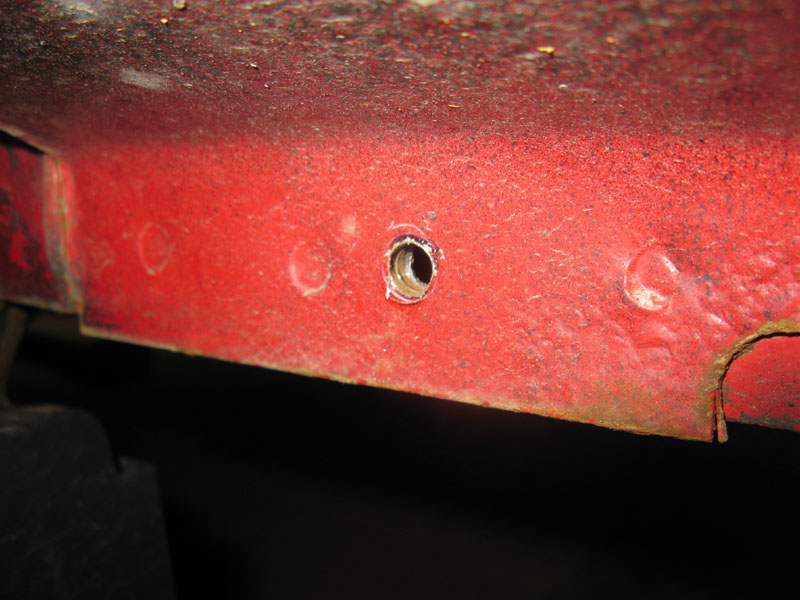
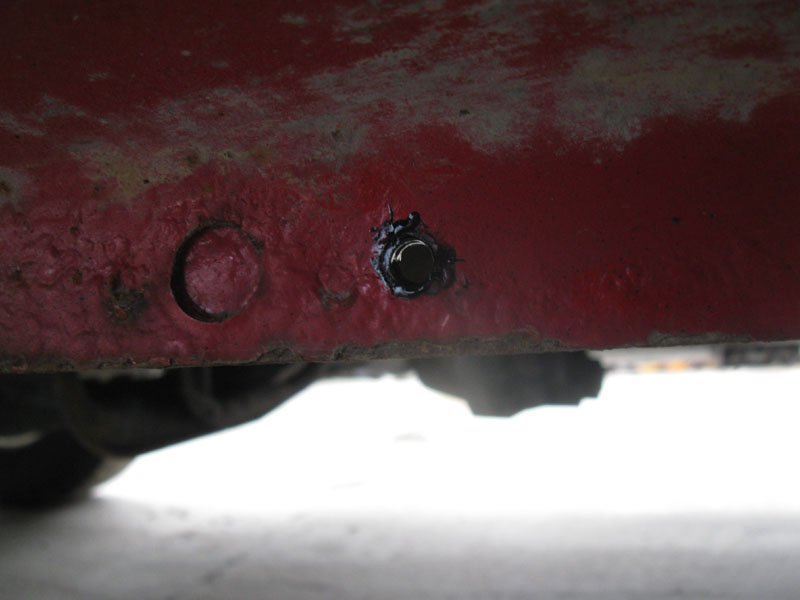
After measuring several more times, I commenced to drilling. First center punch, then a 1/8" pilot hole, followed by a 1/4" hole. I drilled the holes 9/16" up from the bottom of the pinch weld.
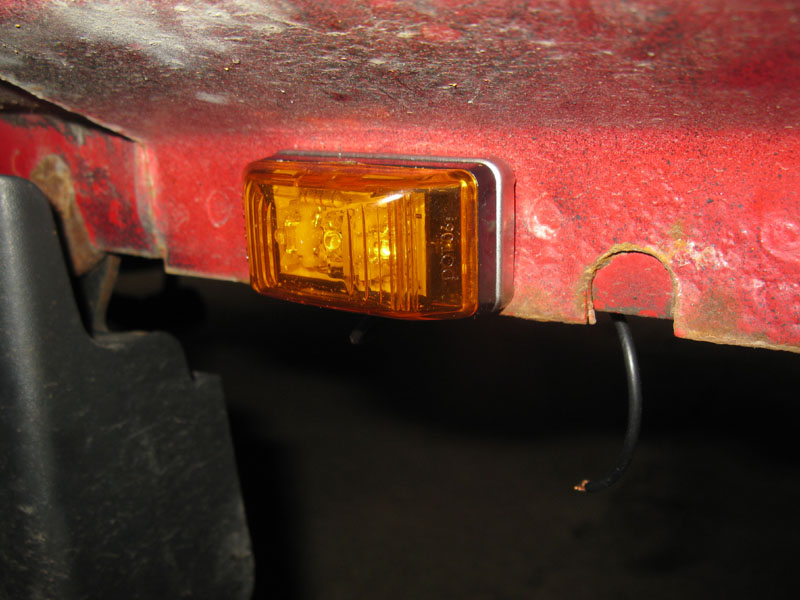
Test fit before drilling the others.
The test fit of all four.
After the test fit, I removed them all to make up the harness that will connect them all together, and to power & ground.
But first, I went around to all the holes and dabbed in a little epoxy black paint.
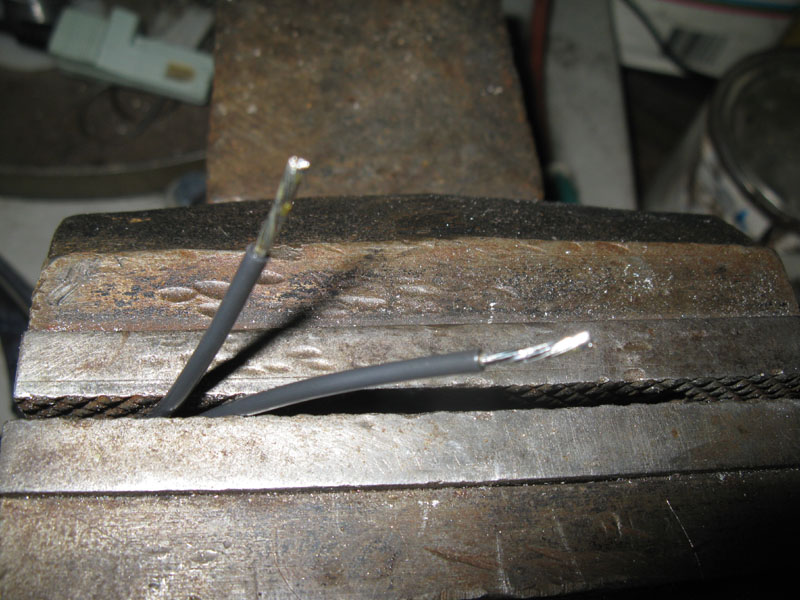
I use standard crimp connectors for almost all of my wiring projects on this truck. However, I haven't shown any pictures of my "standard procedure" when using these. I always crimp AND solder them.
First, strip the wire back about 3/8"
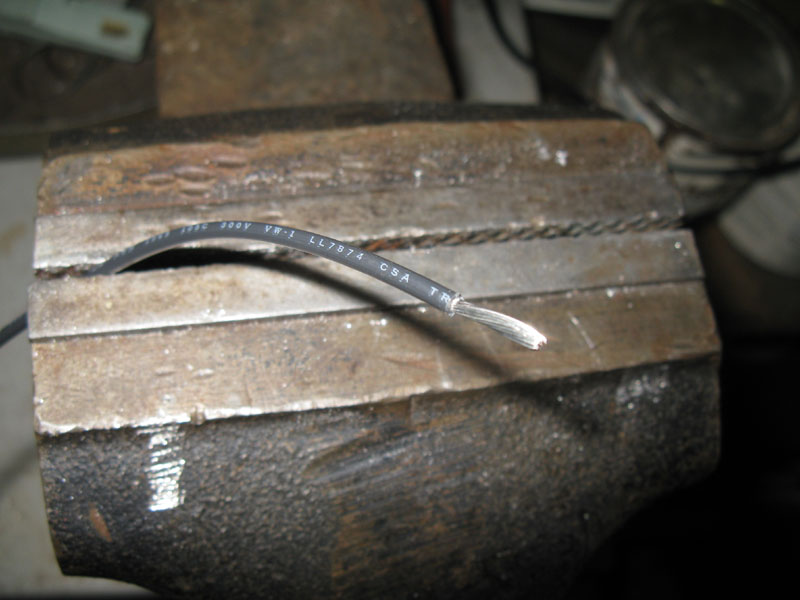
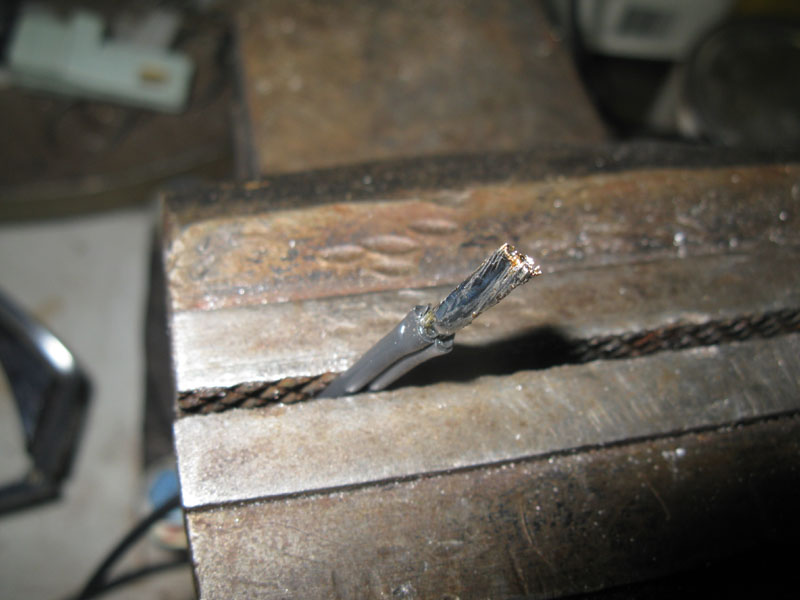
Then tin the wire with a bit of solder.

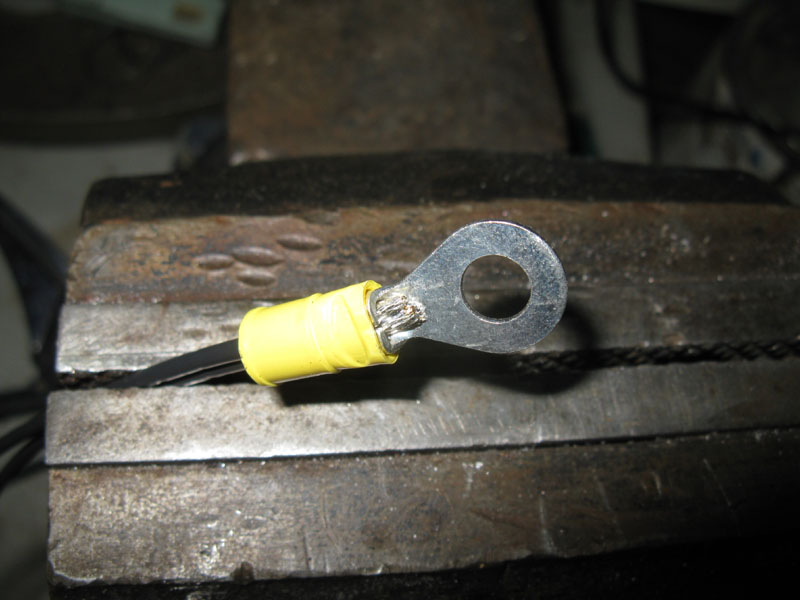
Then install and crimp the connector.
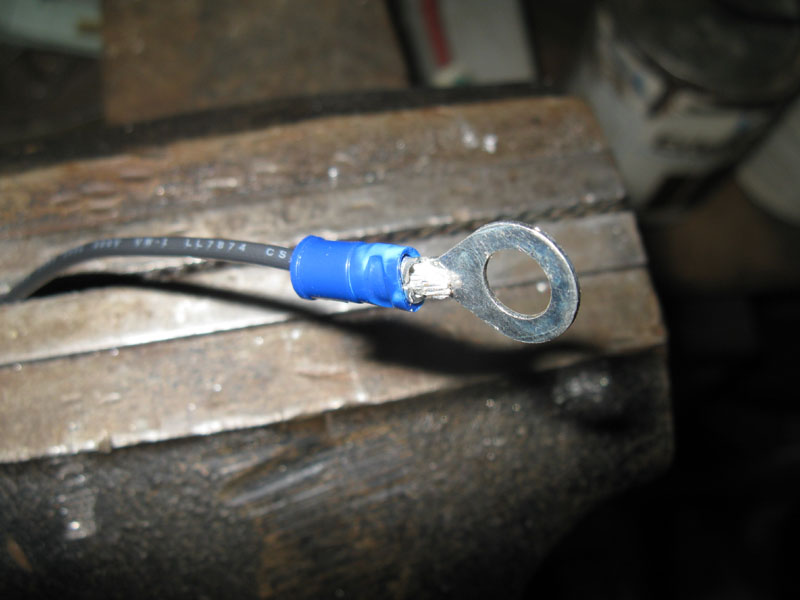
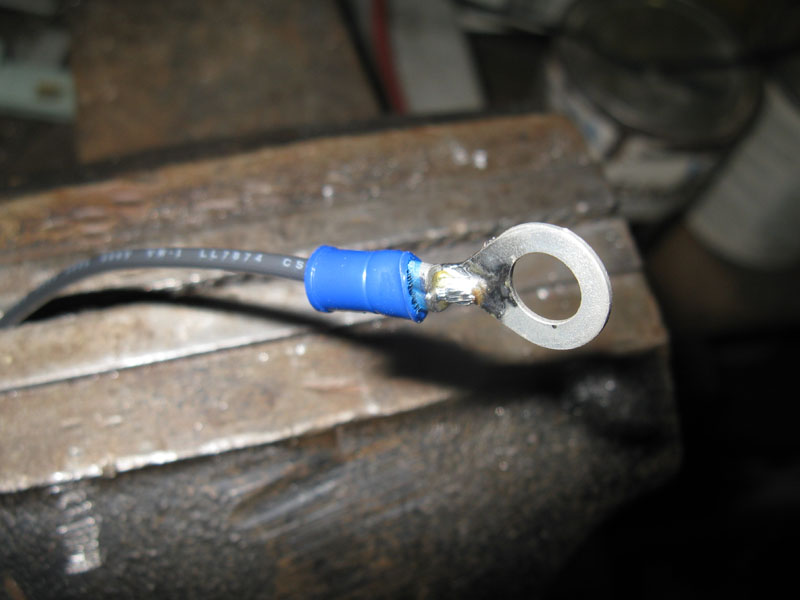
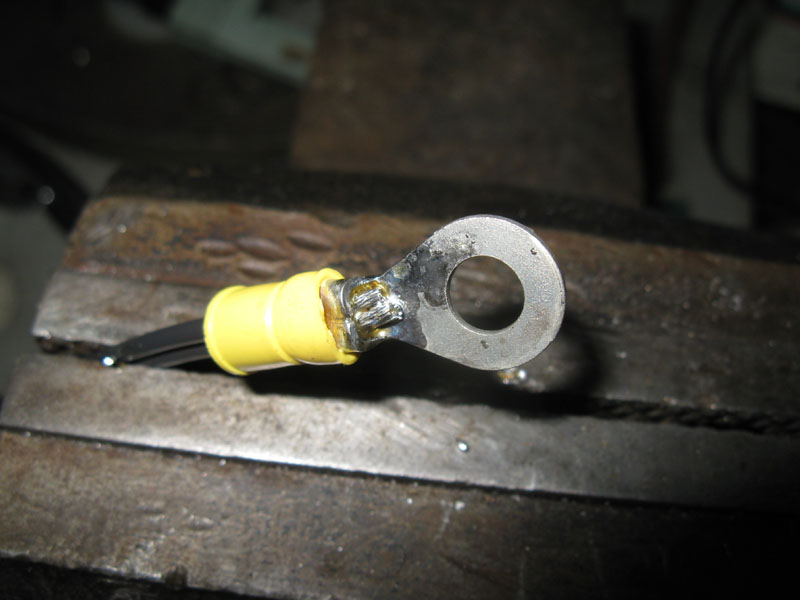
Then solder the connection. Hold the iron on the opposite side of the connector. You can tell when its hot enough to feed the solder in when you see the surface of the connector "flash" over. Hard to explain but you'll see what I'm talking about the first time you try one.
The rest of the harness requires two wires to go into one crimp terminal. Here's the tinned wires.
Solder them to each other.
Then crimp on the terminal again.
Finally, solder it again as described above.
Now for the connections. I decided to bring the wiring inside the cab and connect into the parking light circuit in the main loom behind the kick panel. To see the steps for removing the kick panel, check out my courtesy lamps writeup.
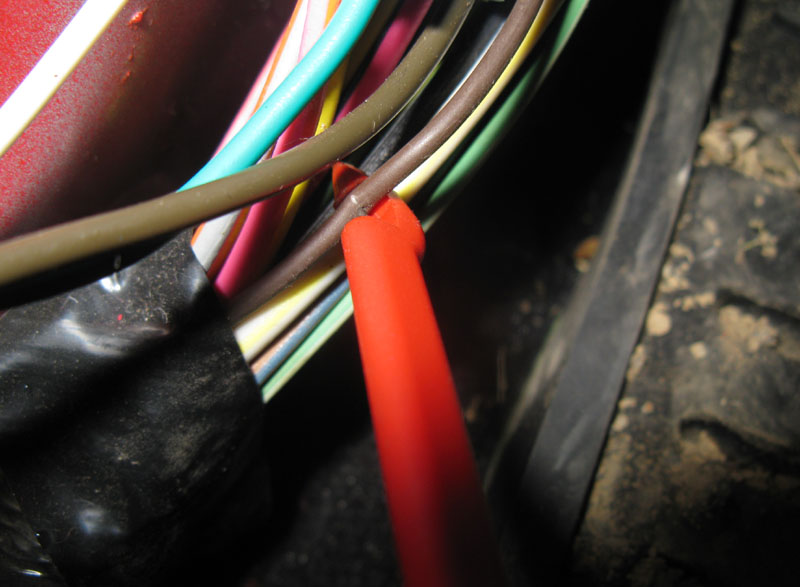
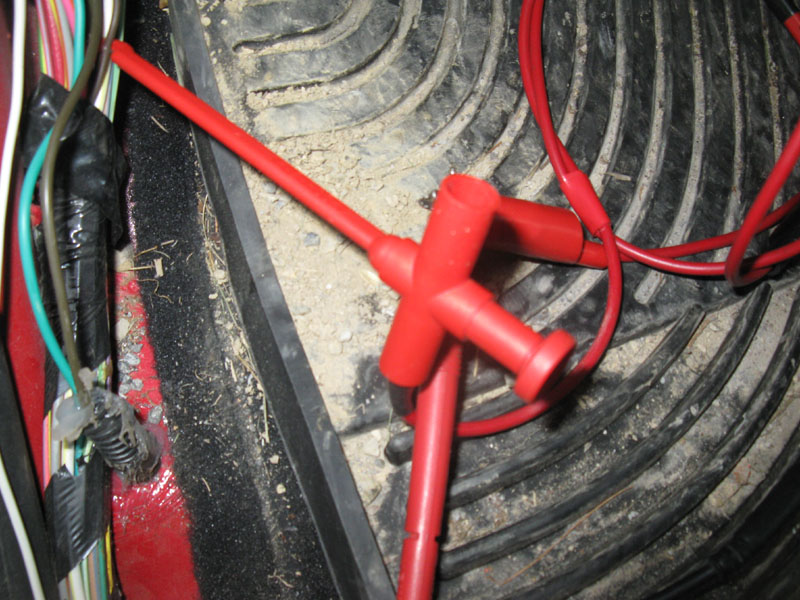
The brown wire behind the kick panel is the parking light wire. I verified this with my meter. I have a set of insulation piercing probes that I use for this sort of thing.
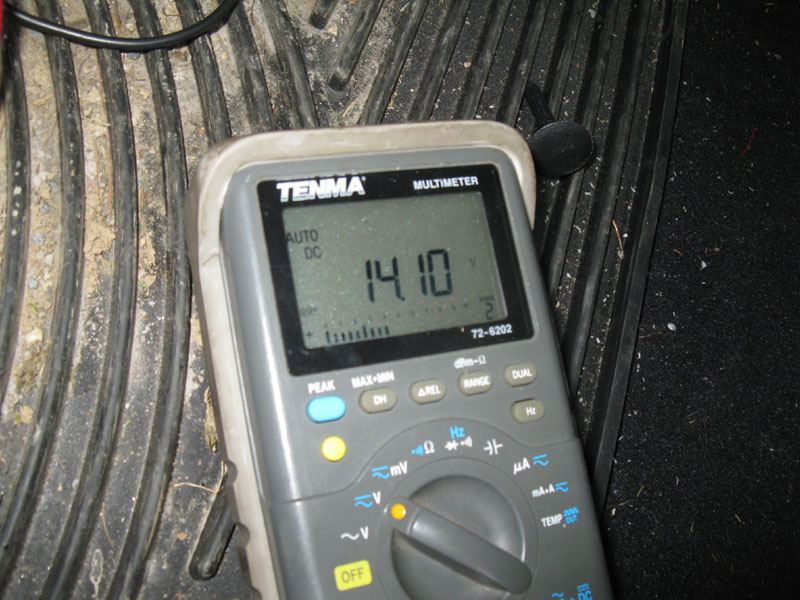
Here's 14V with the engine running and the park lights on. The voltage goes to zero with the lights off.
Now that the harness is built and the wires have been identified, its time to finish off the install.
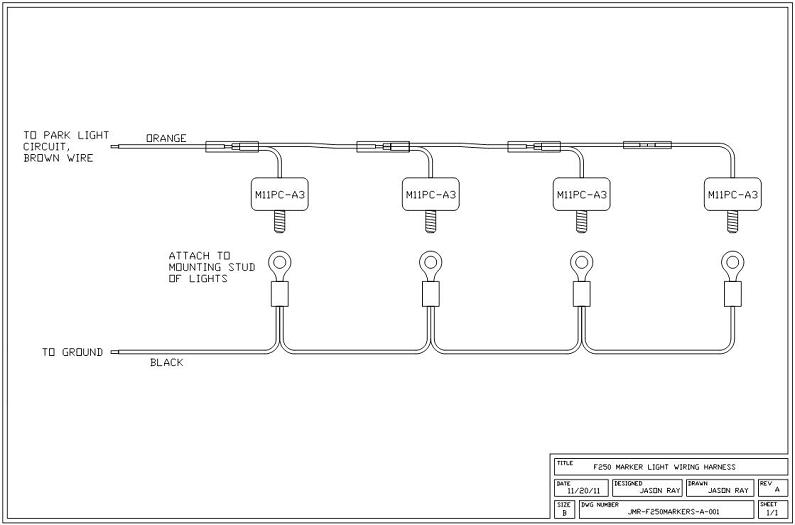
This drawing depicts how I built the harness for these lights.
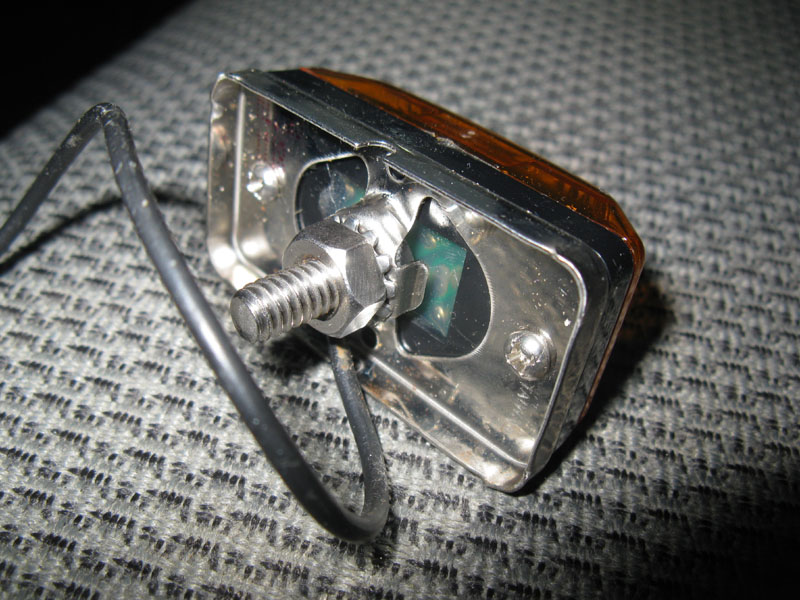
Mount up the lights.
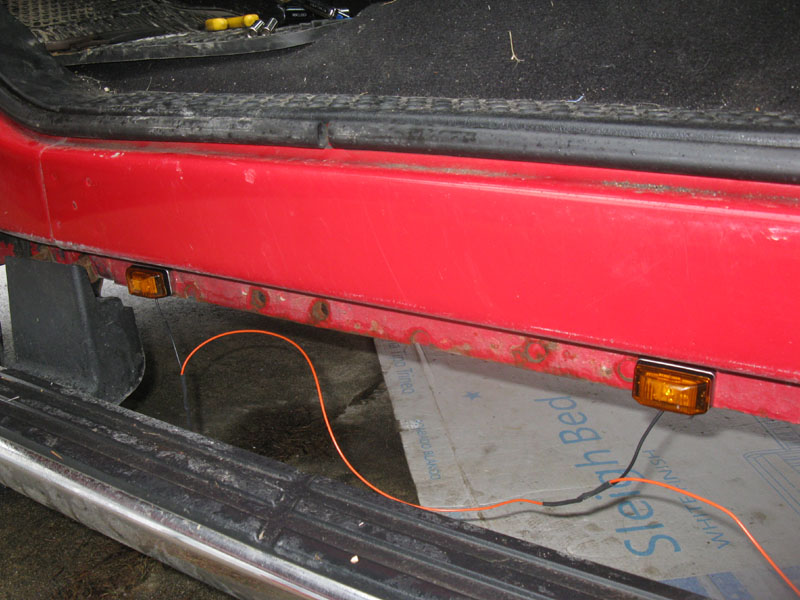
Here's a shot of the wiring from the backside.
When I installed my Pop & Lock Tailgate Lock, I drilled a hole through the floor to pass the loom through. I ran the marker light wires through there.
Here's the pic of that loom from the tailgate lock writeup.
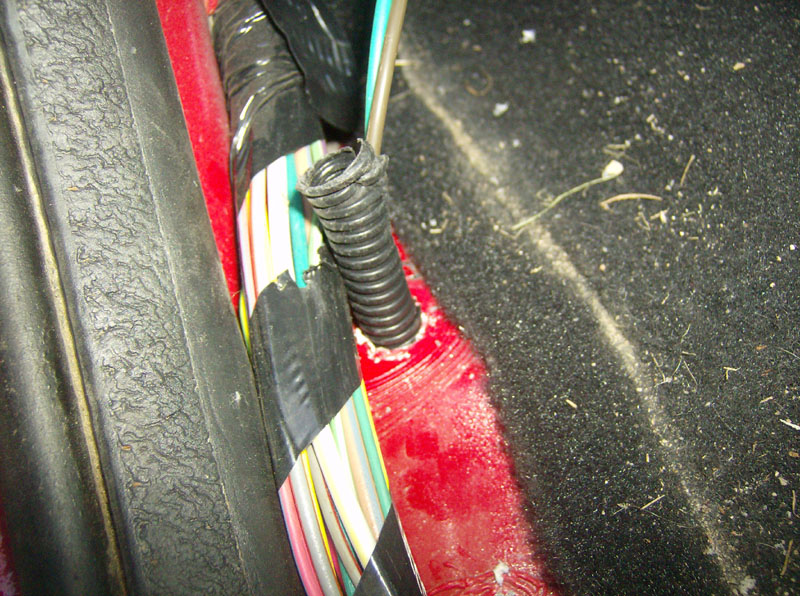
I drilled a similar hole on the passenger side and ran a piece of 3/8" loom through it to get the pass side marker light wires into the cab. There's no equivalent brown wire on the pass side, so I ran a wire behind the dash, across to the drivers side to connect into the marker light circuit.
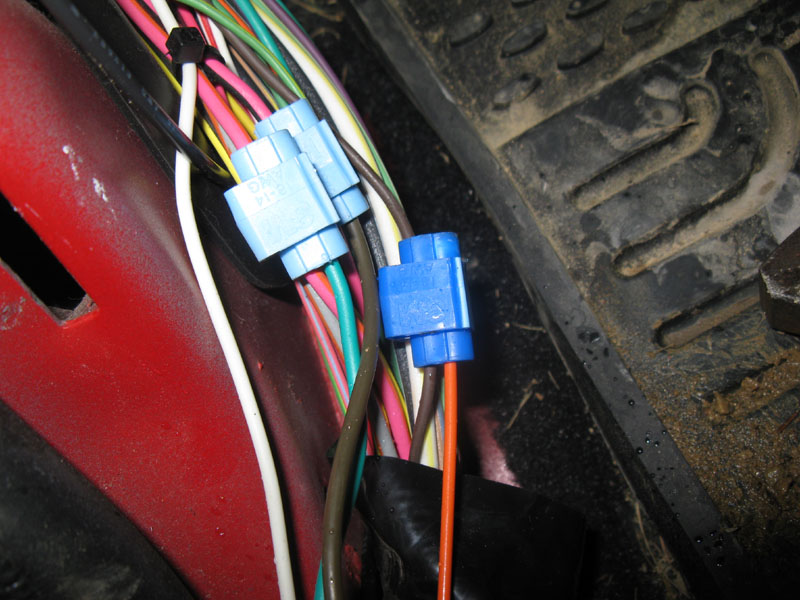
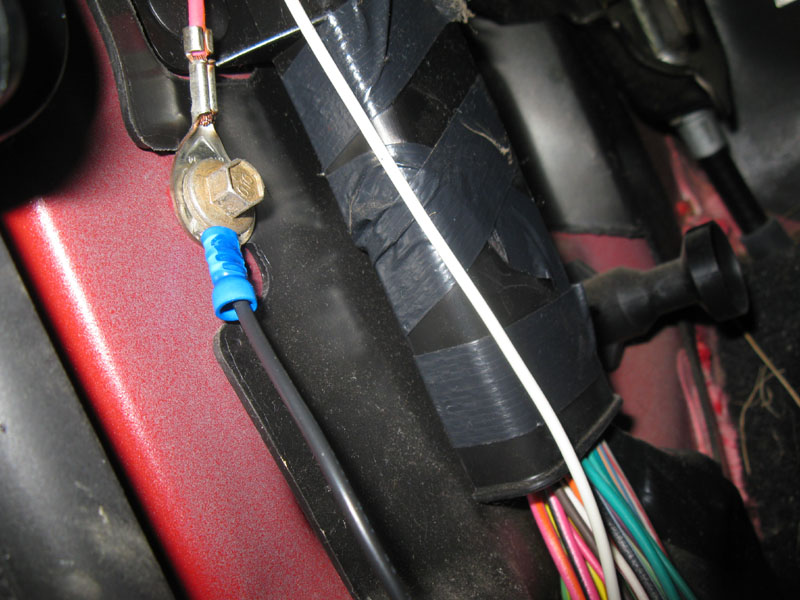
Here's where I tapped into the brown wire. The two upper wire taps are for my power tailgate lock.
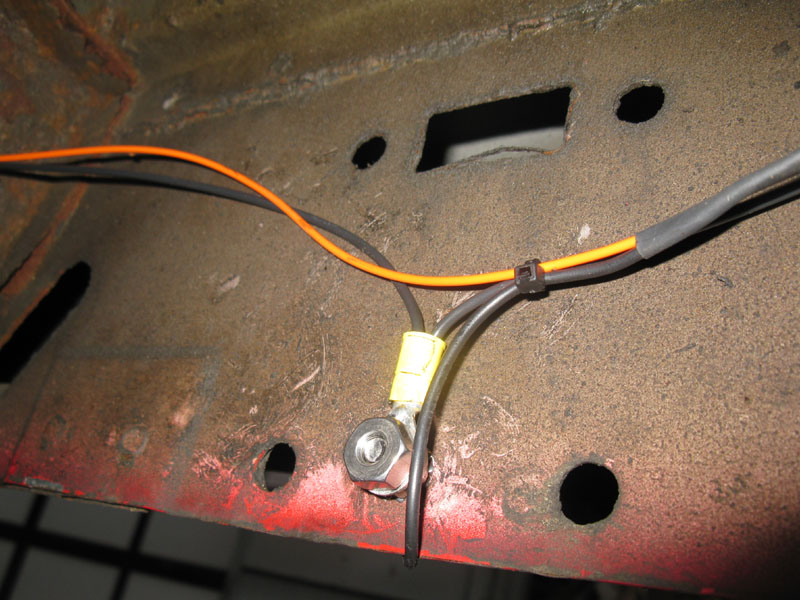
I attached the ground wire here, just above where I tapped into the brown wire. There is an equivalent ground point on the pass side, so I attached its ground there.
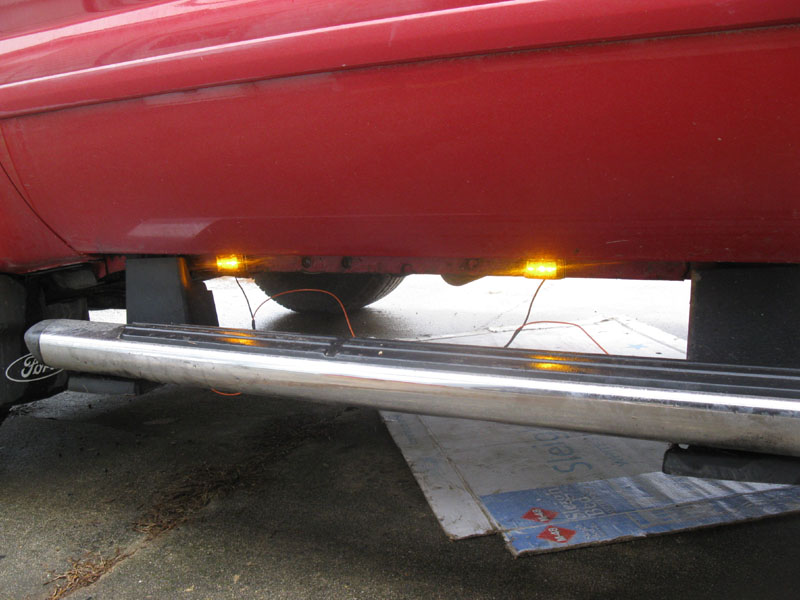
Testing them out before completely dressing up the wiring.
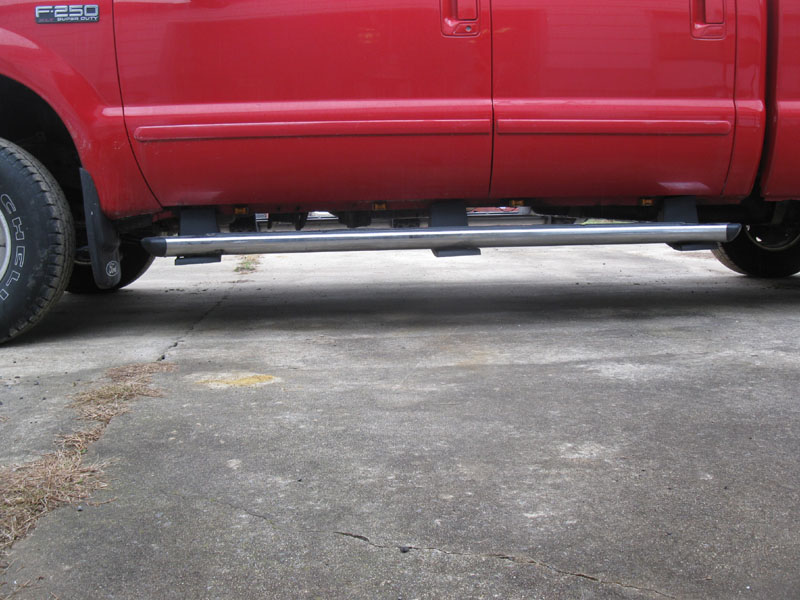
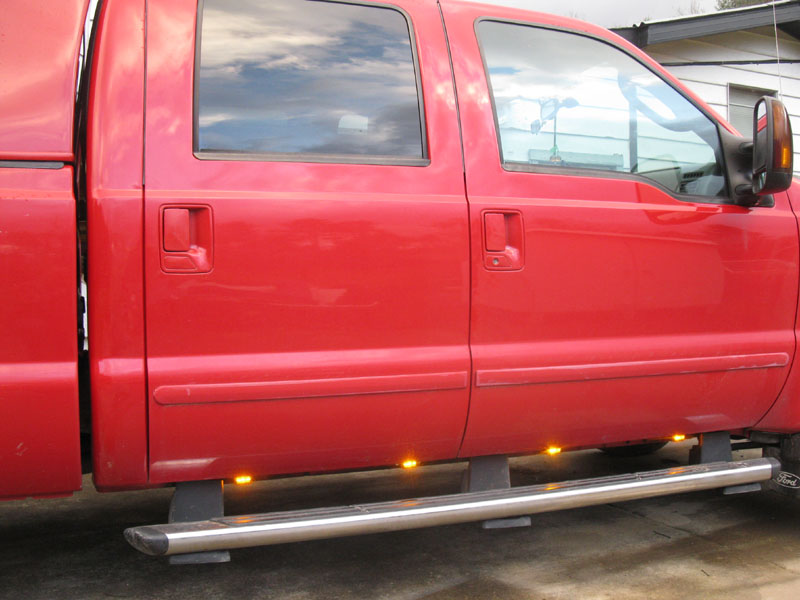
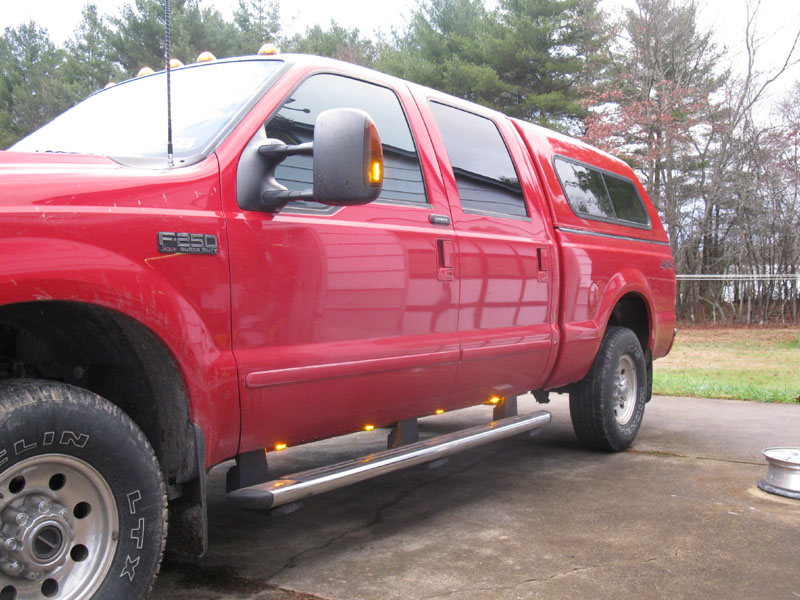
A few shots of the finished product

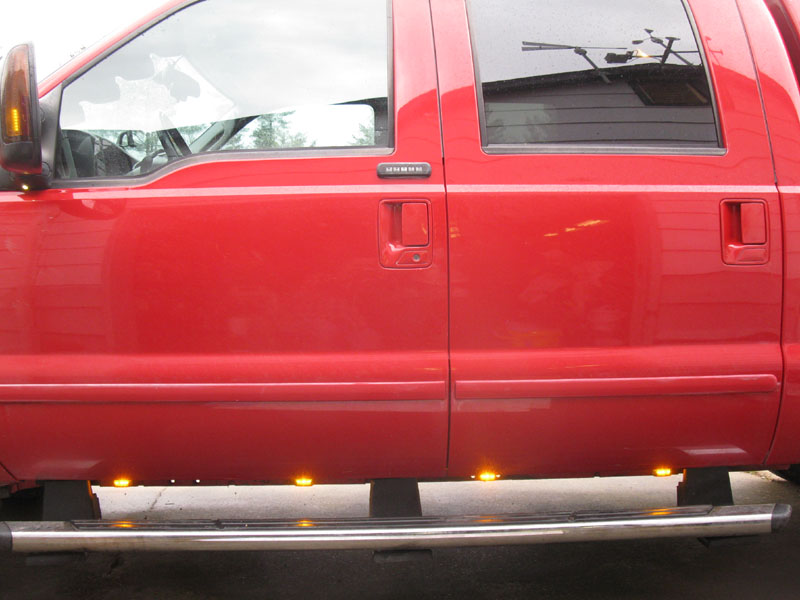
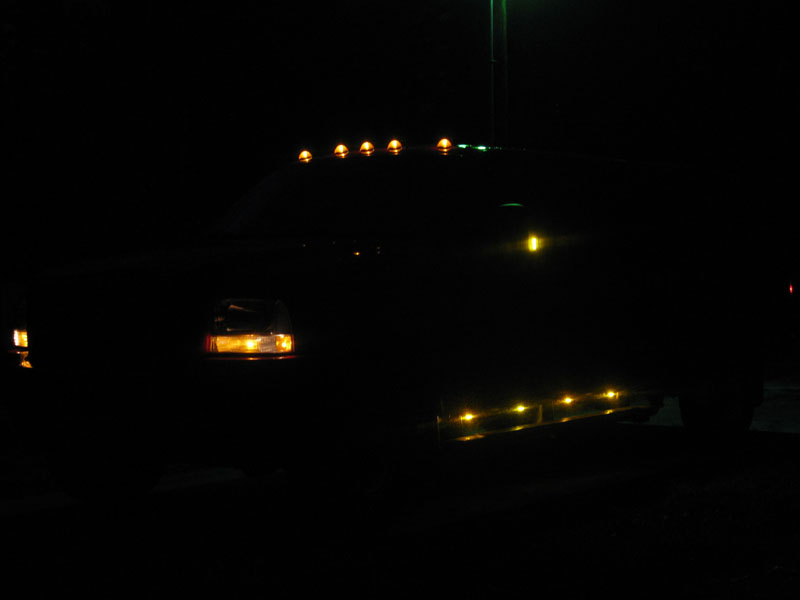
Finally a night time shot.
Questions or Comments? Email jmray@frontiernet.net