2004 Ford Super Duty
Wiper Shaker Install
2004 F250 4x4 XLT Sport Crew Cab
Click Here for a PDF version of this article
A while back I installed a set of auxiliary switches in my dash, as shown in this article:
2004 F250 Auxiliary Switch Installation
Back then, I had planned for installing the "Wiper Shaker" system. I actually installed the switch and wiring but for various reasons I didn't purchase the shaker system for almost a year. Well, I finally got around to buying it and that brings us to this webpage.
My intention here is to give this thing a try because its an interesting concept and also to provide an honest review on how it works because there seems to be very few real world reviews on this kit. I also plan to occasionally update this article to provide a long term performance review of the system.
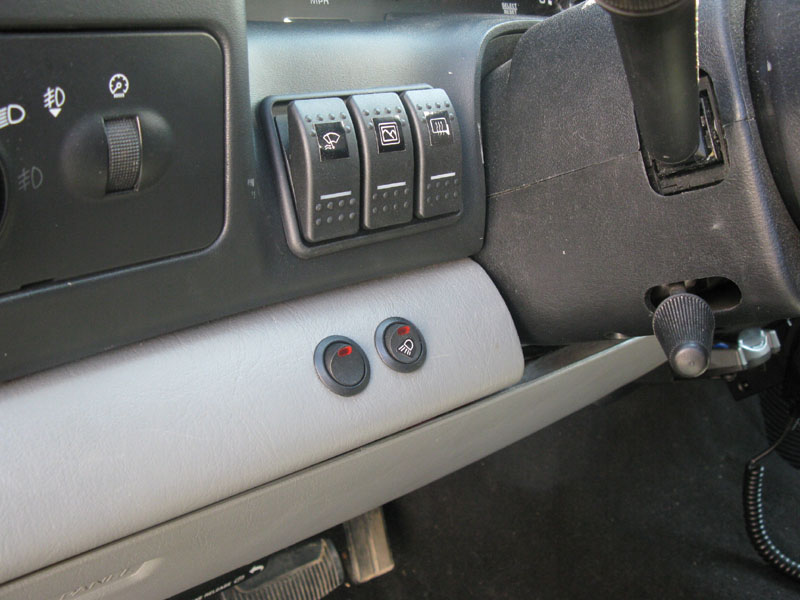
As a review of what I've done so far, I've installed a Carling normally open momentary switch to control it.
The switch is the left-most switch in the set of three.
I used my last remaining "customer use wire" to get through the firewall to get the power connection into the cab.
I connected this wire through an inline 5A fuse and then to the momentary switch. So, all of the wiring was in place, just waiting for the shaker to be installed.
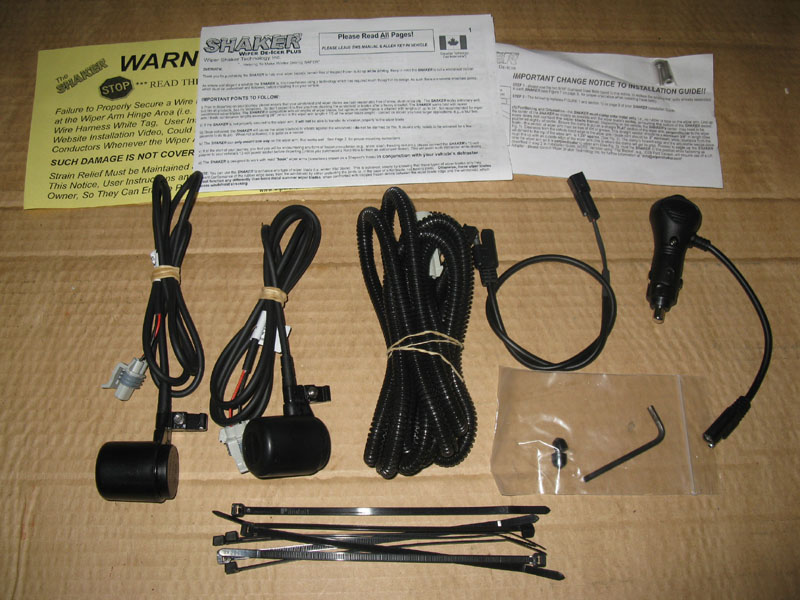
That brings us to today. Here's everything that comes in the kit, Ford part number A8FCS-17526-A.
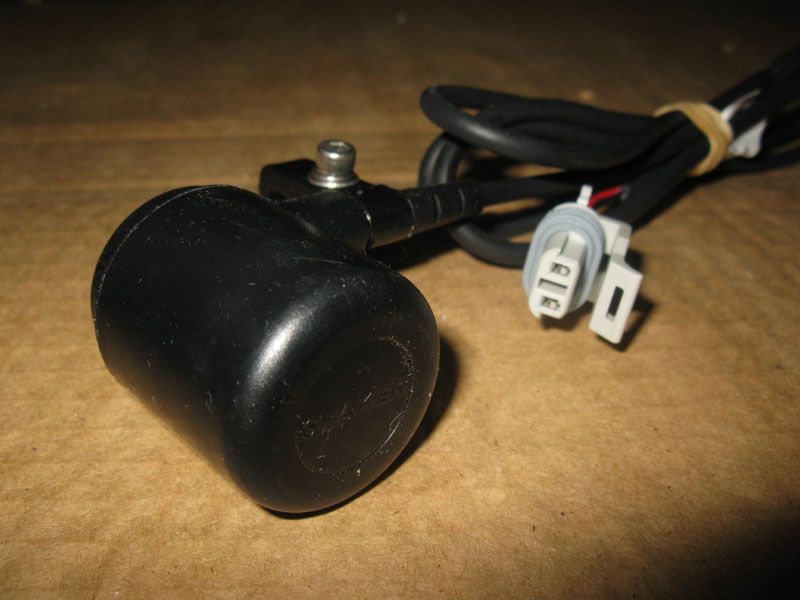
Here's the shakers themselves. I believe these are just an imbalanced motor in a weather proof housing.
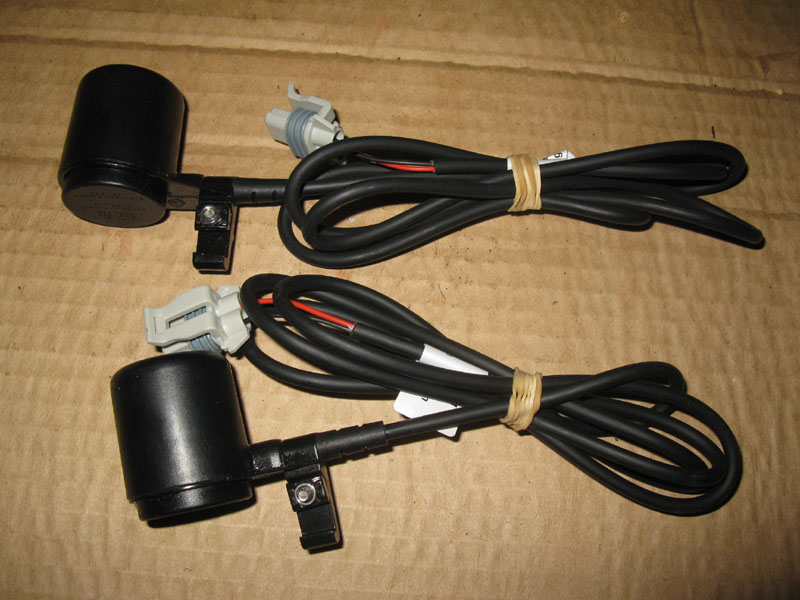
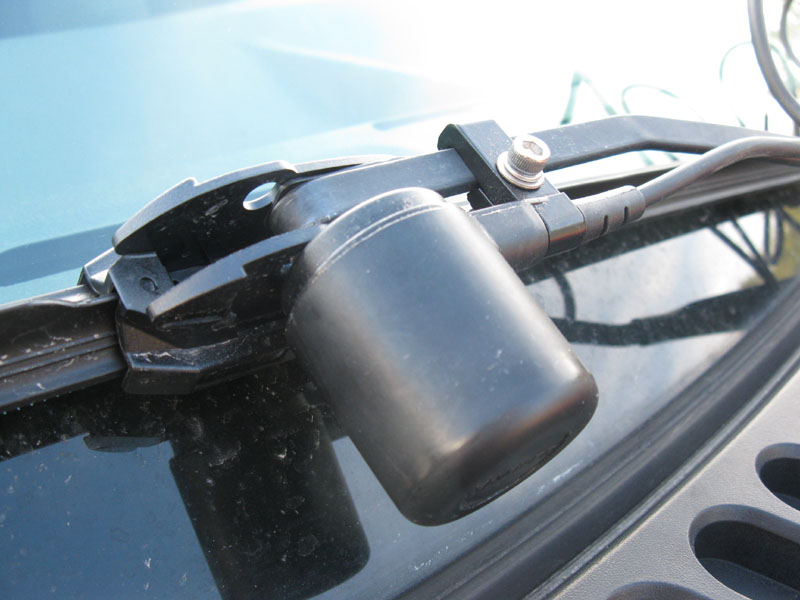
Here's how they attach to the wiper arm. This part is metal and it looks like a pretty nice mount design.
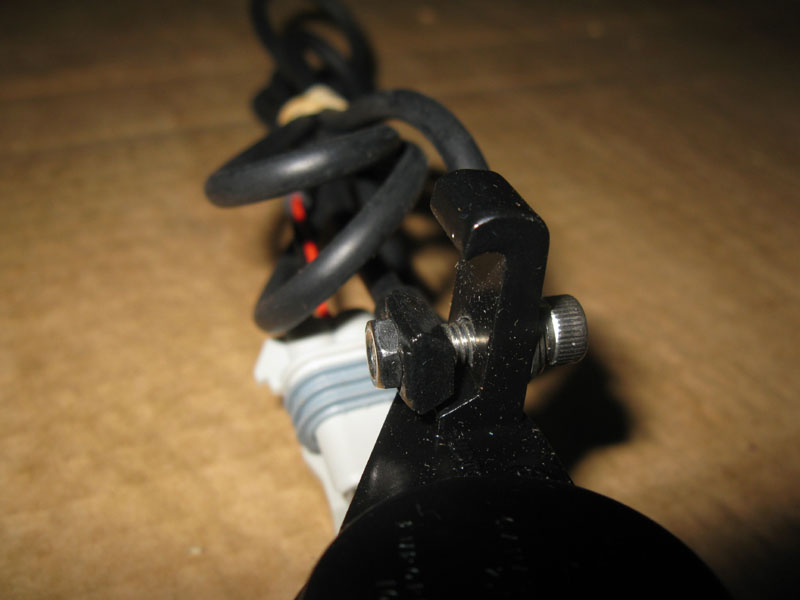
Close up of the shaker. You can see the nice weatherproof electrical connector in this shot.
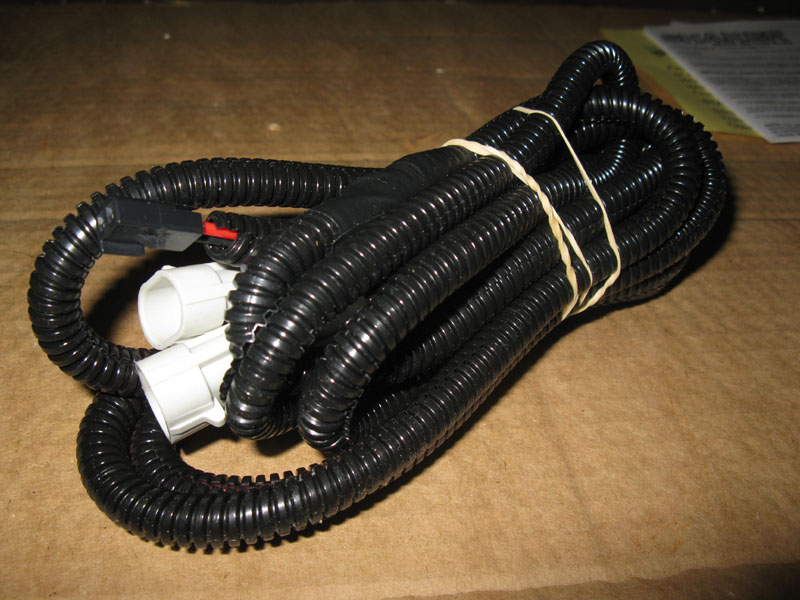
Here's the harness that combines the two shakers and provides the connection to power & ground.
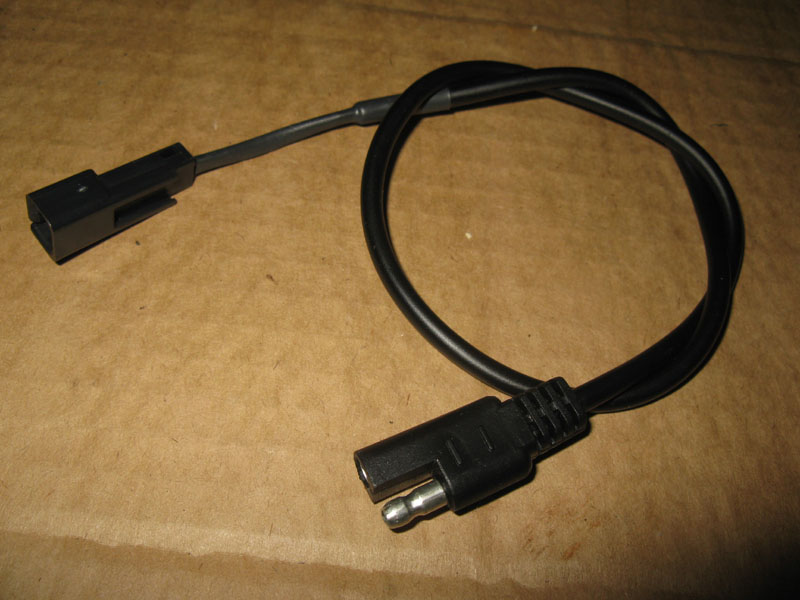
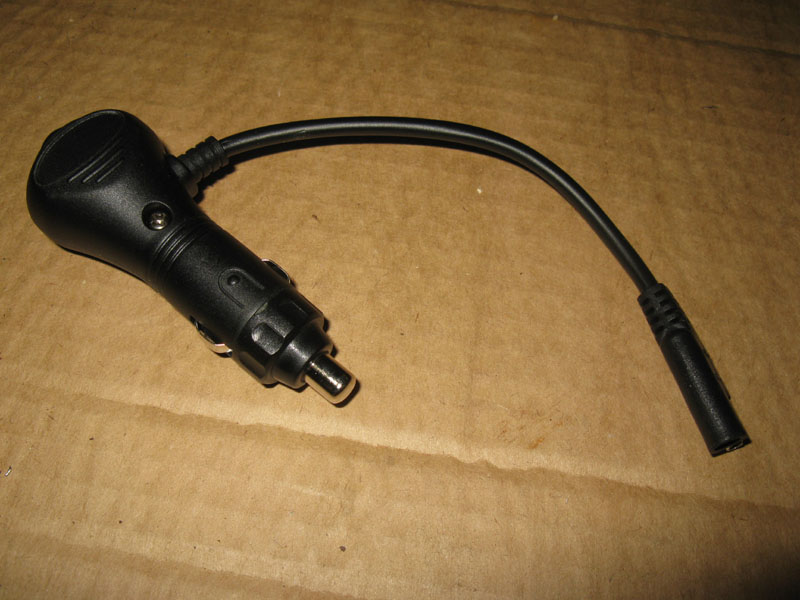
Here's a few other harnesses that I didn't use. These adapt the previous harness to a cigarette lighter adapter (with built in momentary switch) for those who don't want to install a permanent switch like I did.
Before....
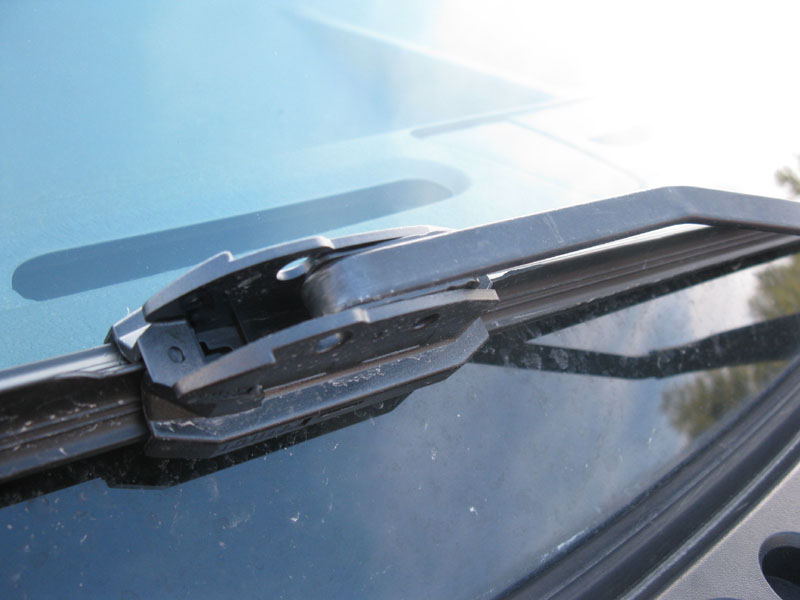
After. It locked down real nice on the wiper arm. The instruction said to center up the shaker on the wiper blade as best you can.
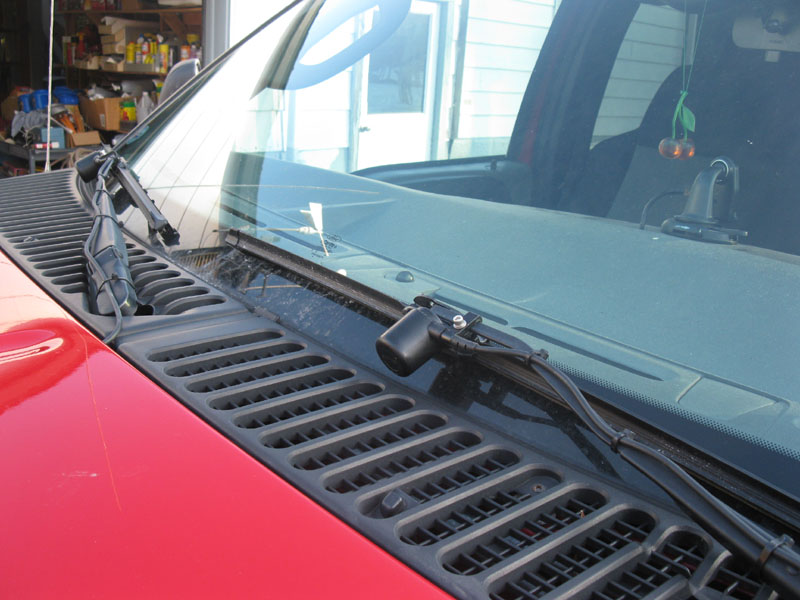
Here's my winter time disclaimer on this install.... Due to the short amount of daylight I had today to work on this, and the fact that I wanted to get it in place before winter ends, I did a really quick install. The wiring just runs under the edge of the hood for now and you can see how the wiring could be dressed alot better down the wiper arm.
Update -- Aug 2011 -- Wiring cleanup
I decided to just clip the connectors off of the end and run the wires through grommets to get through the cowl into the engine bay.
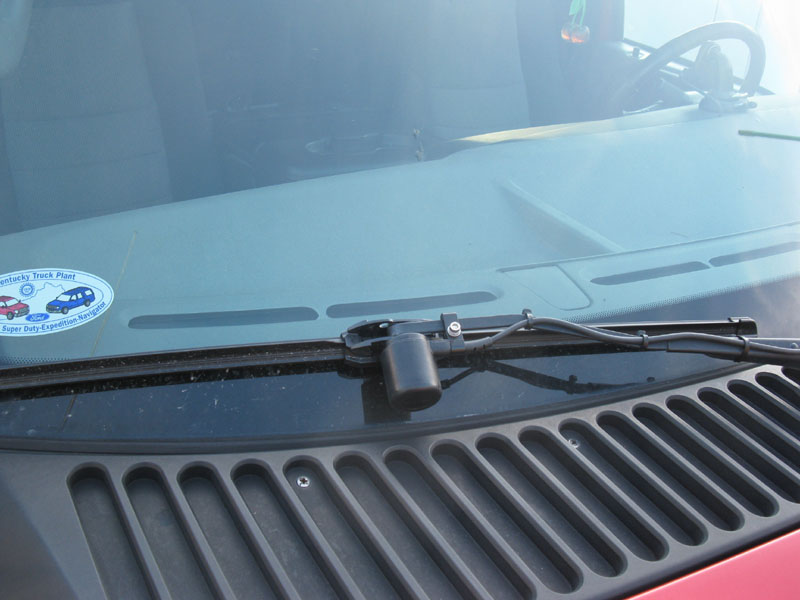
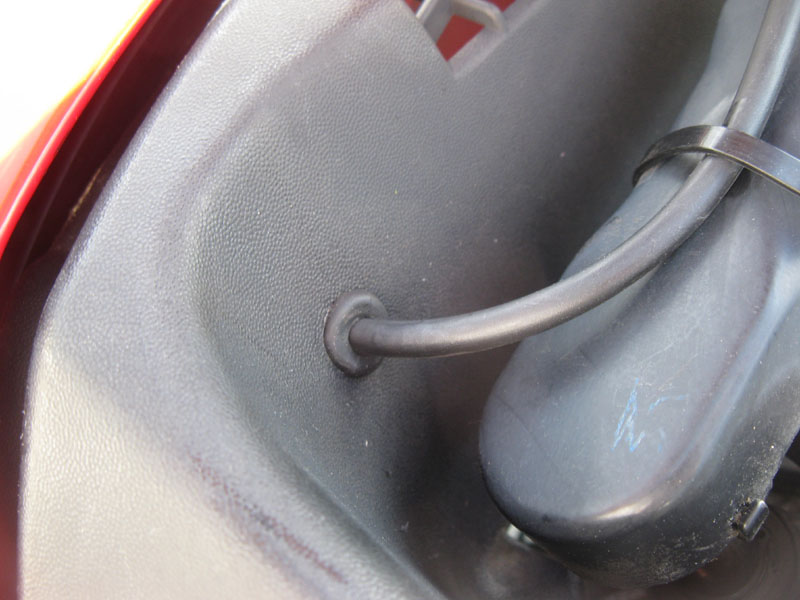
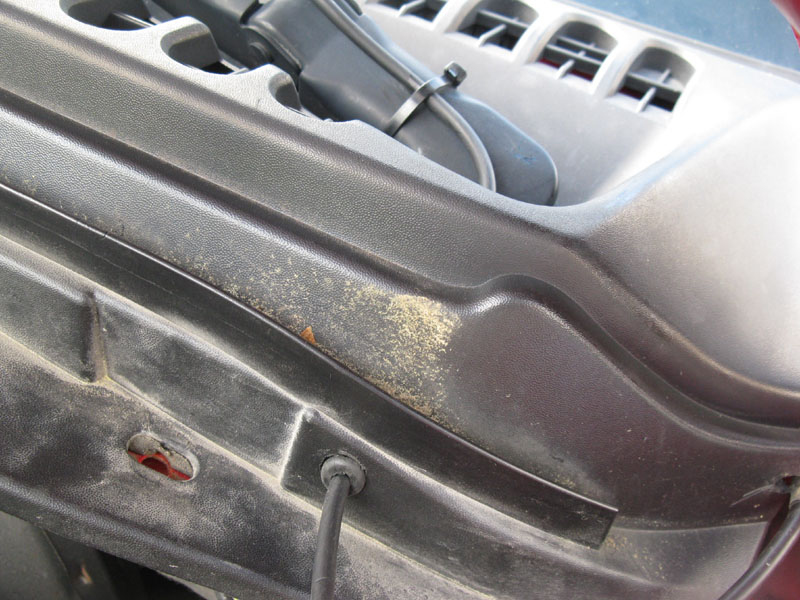
Here's the driver's side
Passenger side

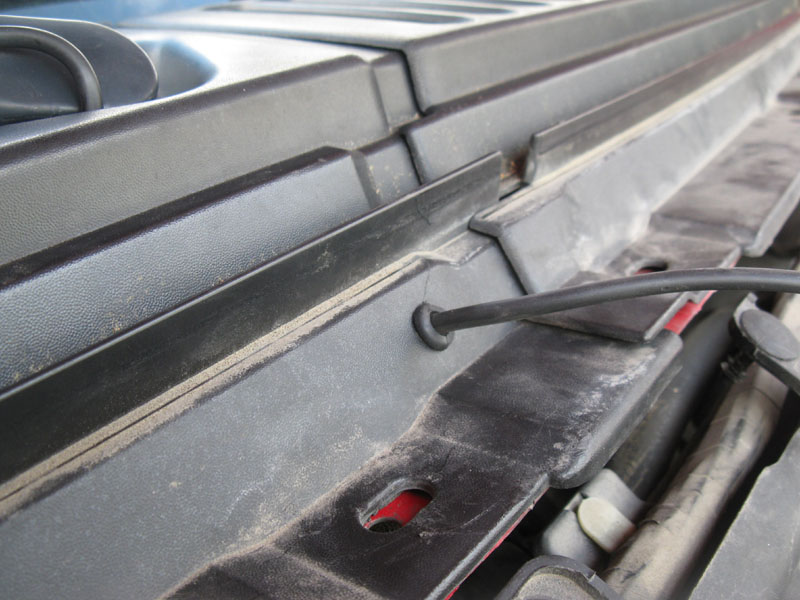
Here you can see where the wiring enters the engine bay. Much better than just running them under the edge of the hood. I soldered & heat shrinked the connector wires back together and then tied everything up in the corner.
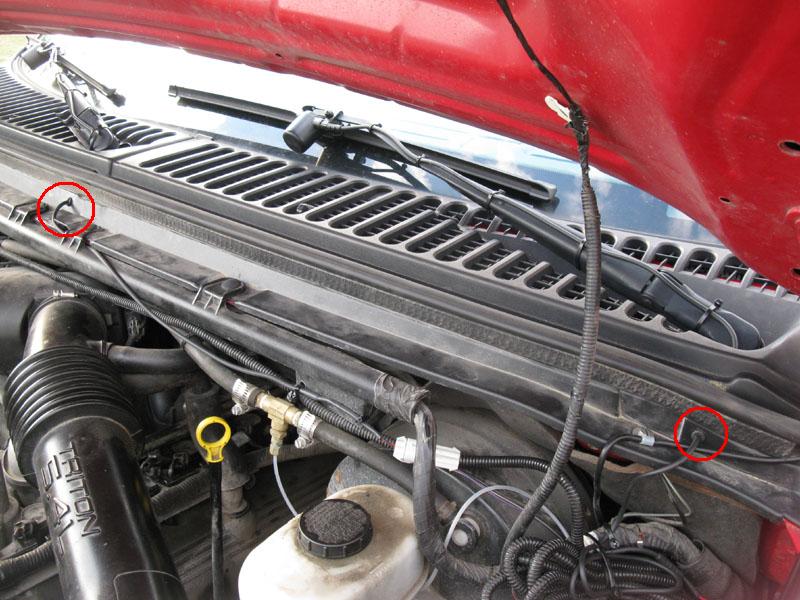
Much cleaner wiring now
Here are my first impressions on this system:
- The shaker units, wiring, and connectors all seem really high quality
- The custom cigarette lighter adapter with built in switch is great for a simpler install.
- They definitely shake the wipers! I'll try to get a video posted up somewhere at some point.
If this WV winter holds true to form this year, I should get a chance to try it out and report back.
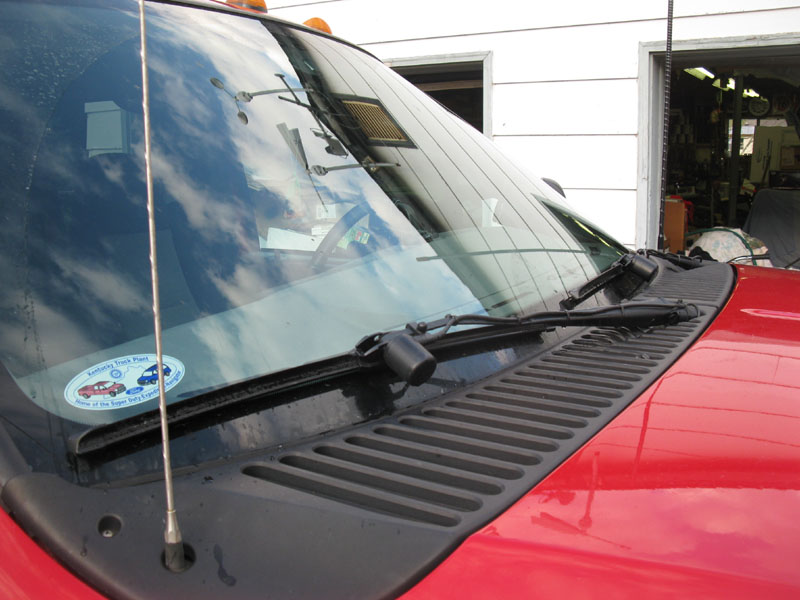
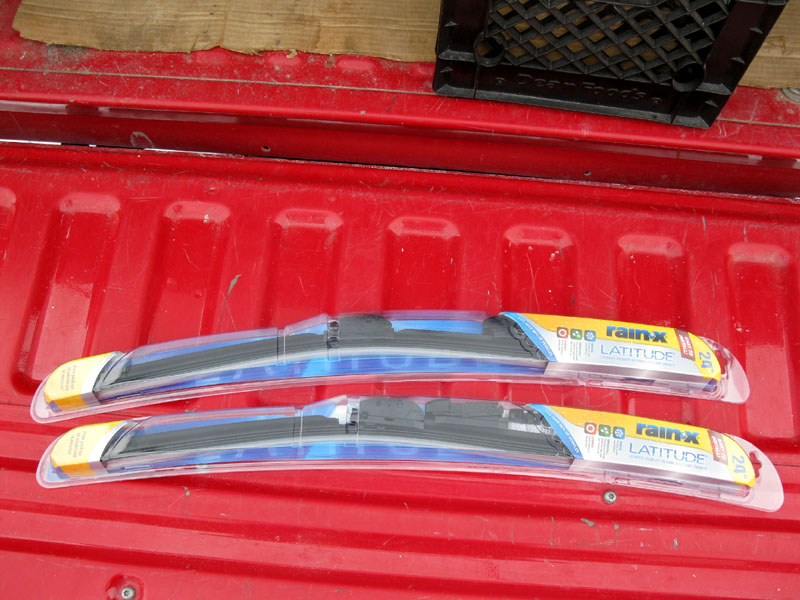
In the meantime, I thought I'd put up a few pictures of the wipers I'm using.
Rain-X Latitude 24" blades. I decided to try the longer blades as suggested by many on FTE. They definitely make a noticeable difference!
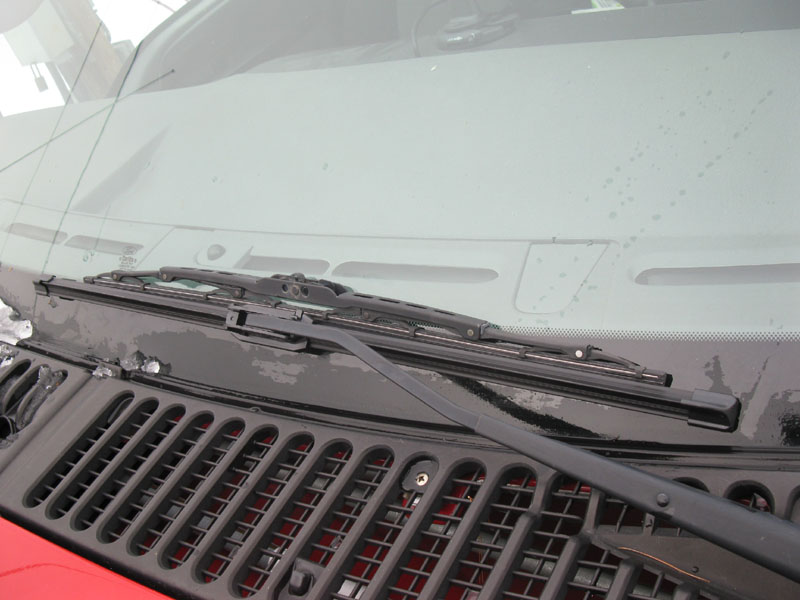
This picture shows the difference between the original blades and the 24" ones.
Questions or Comments? Email jmray@frontiernet.net